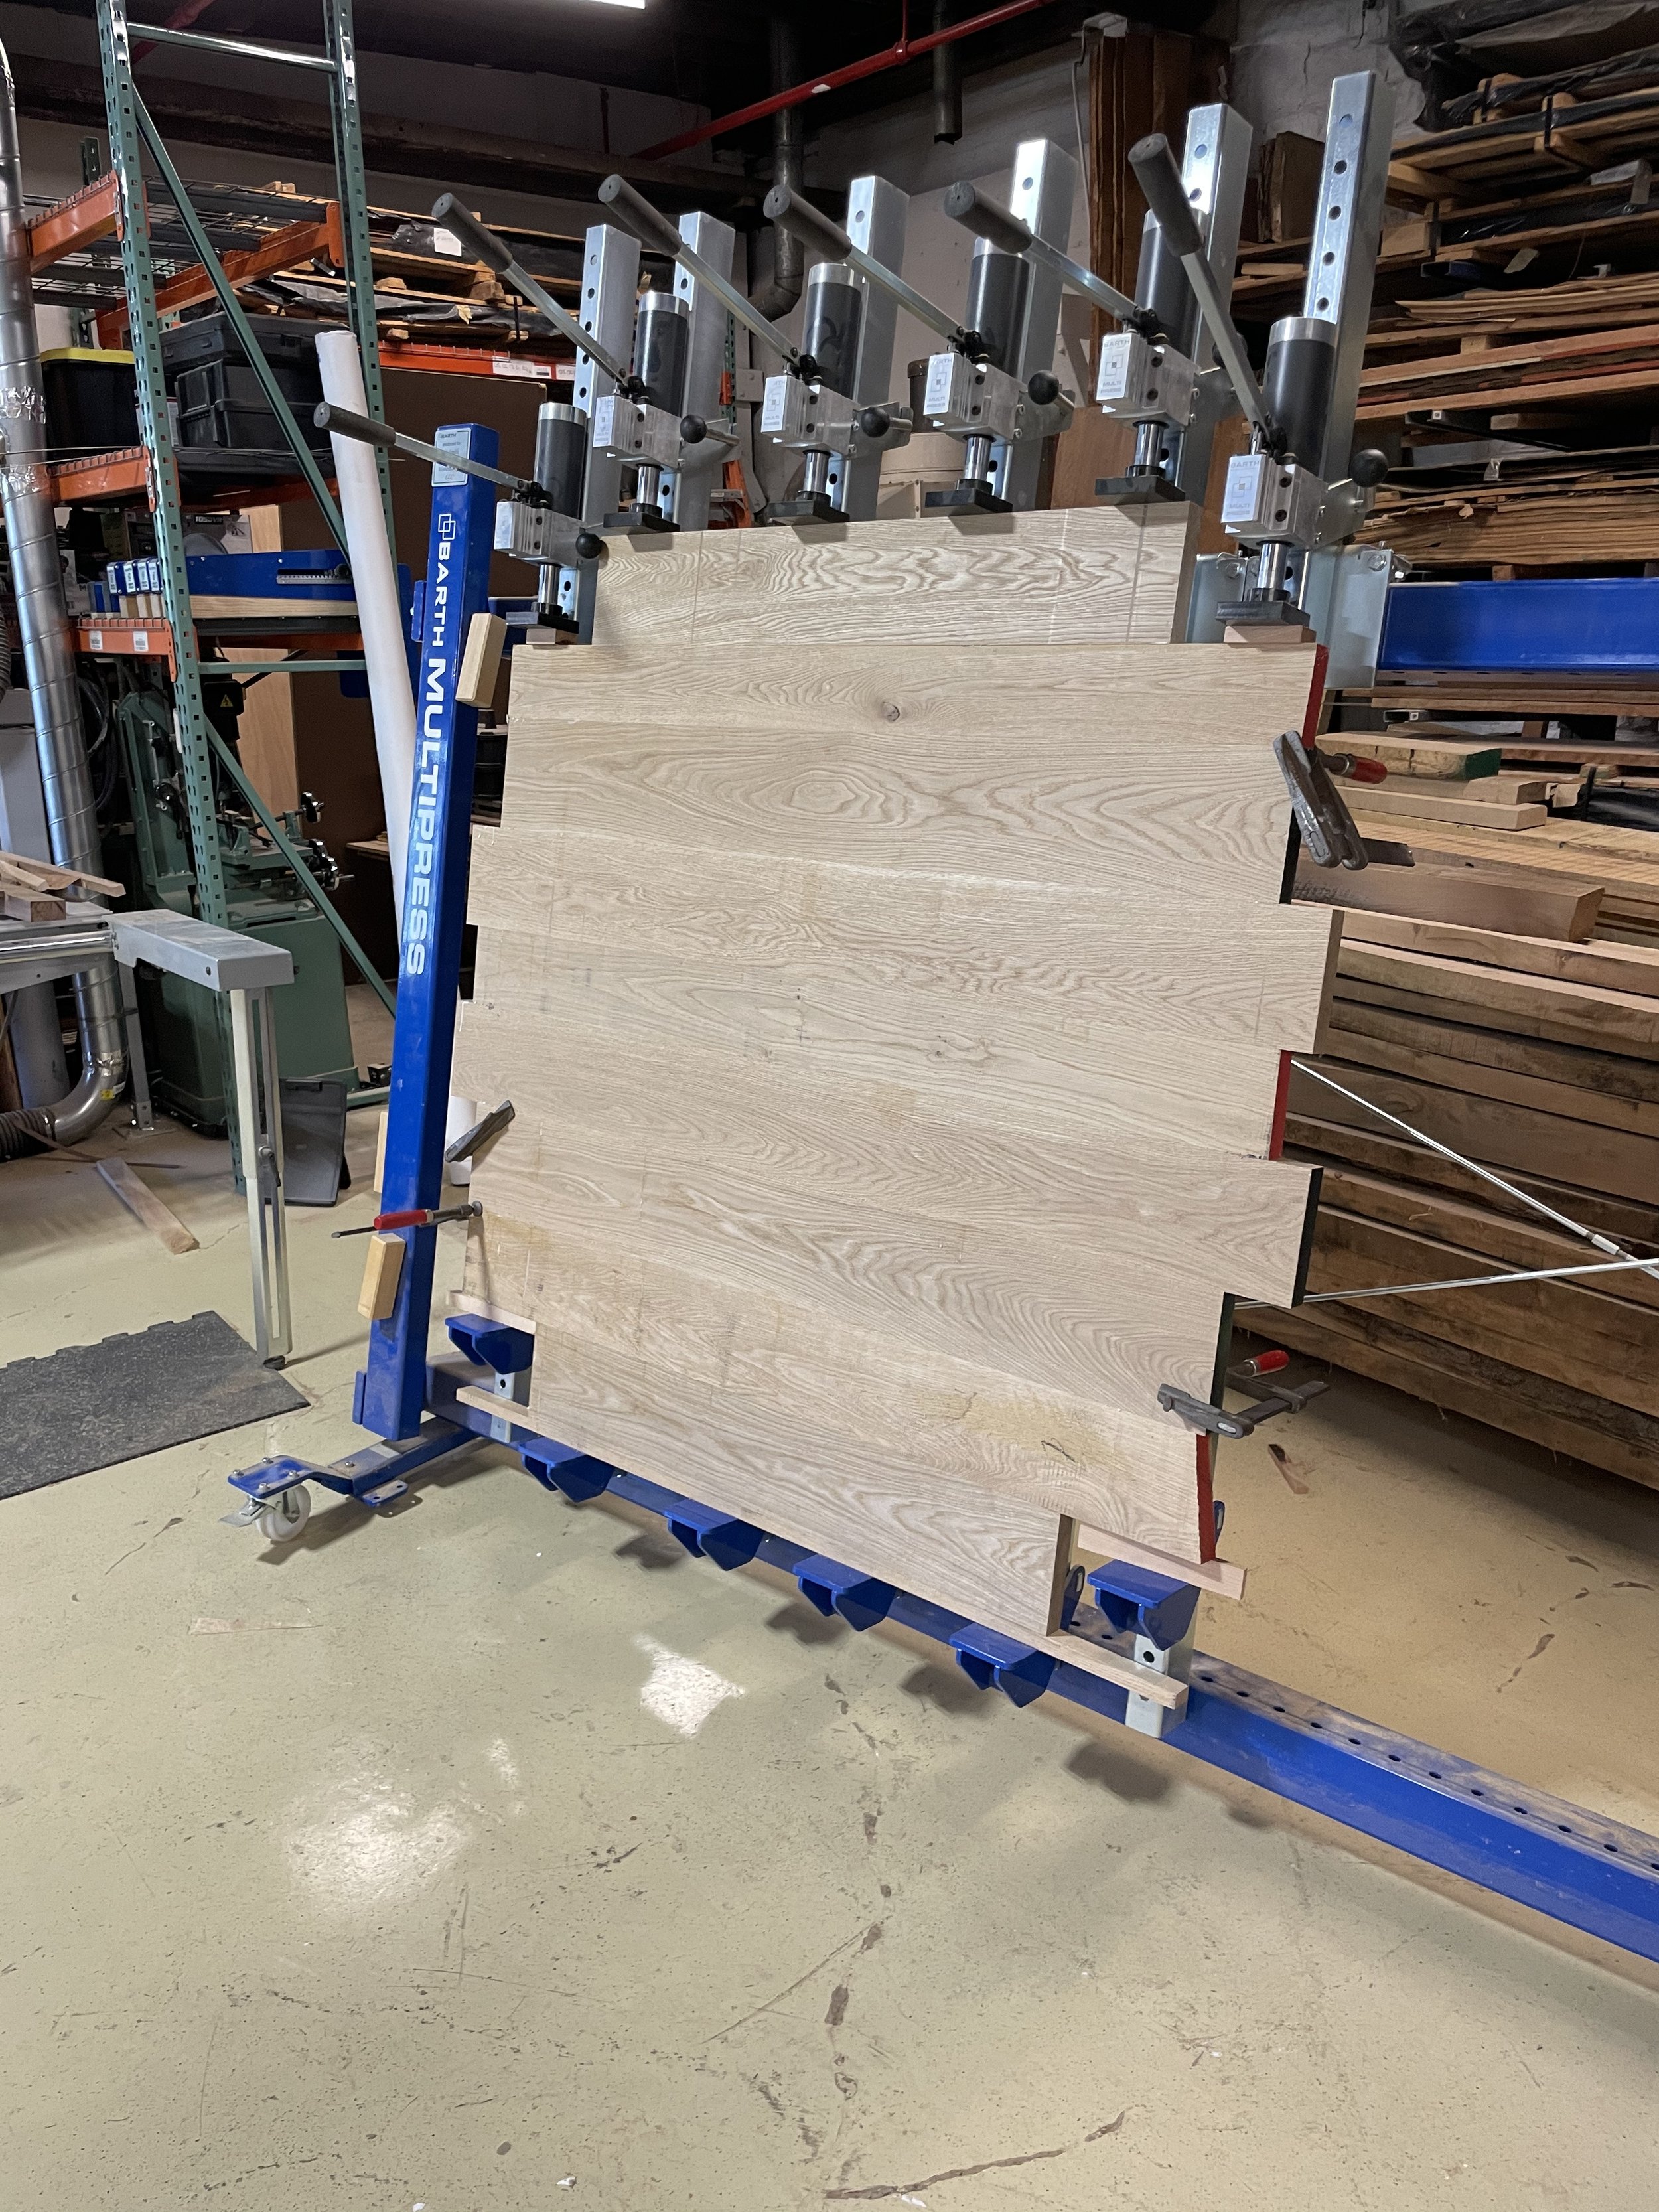
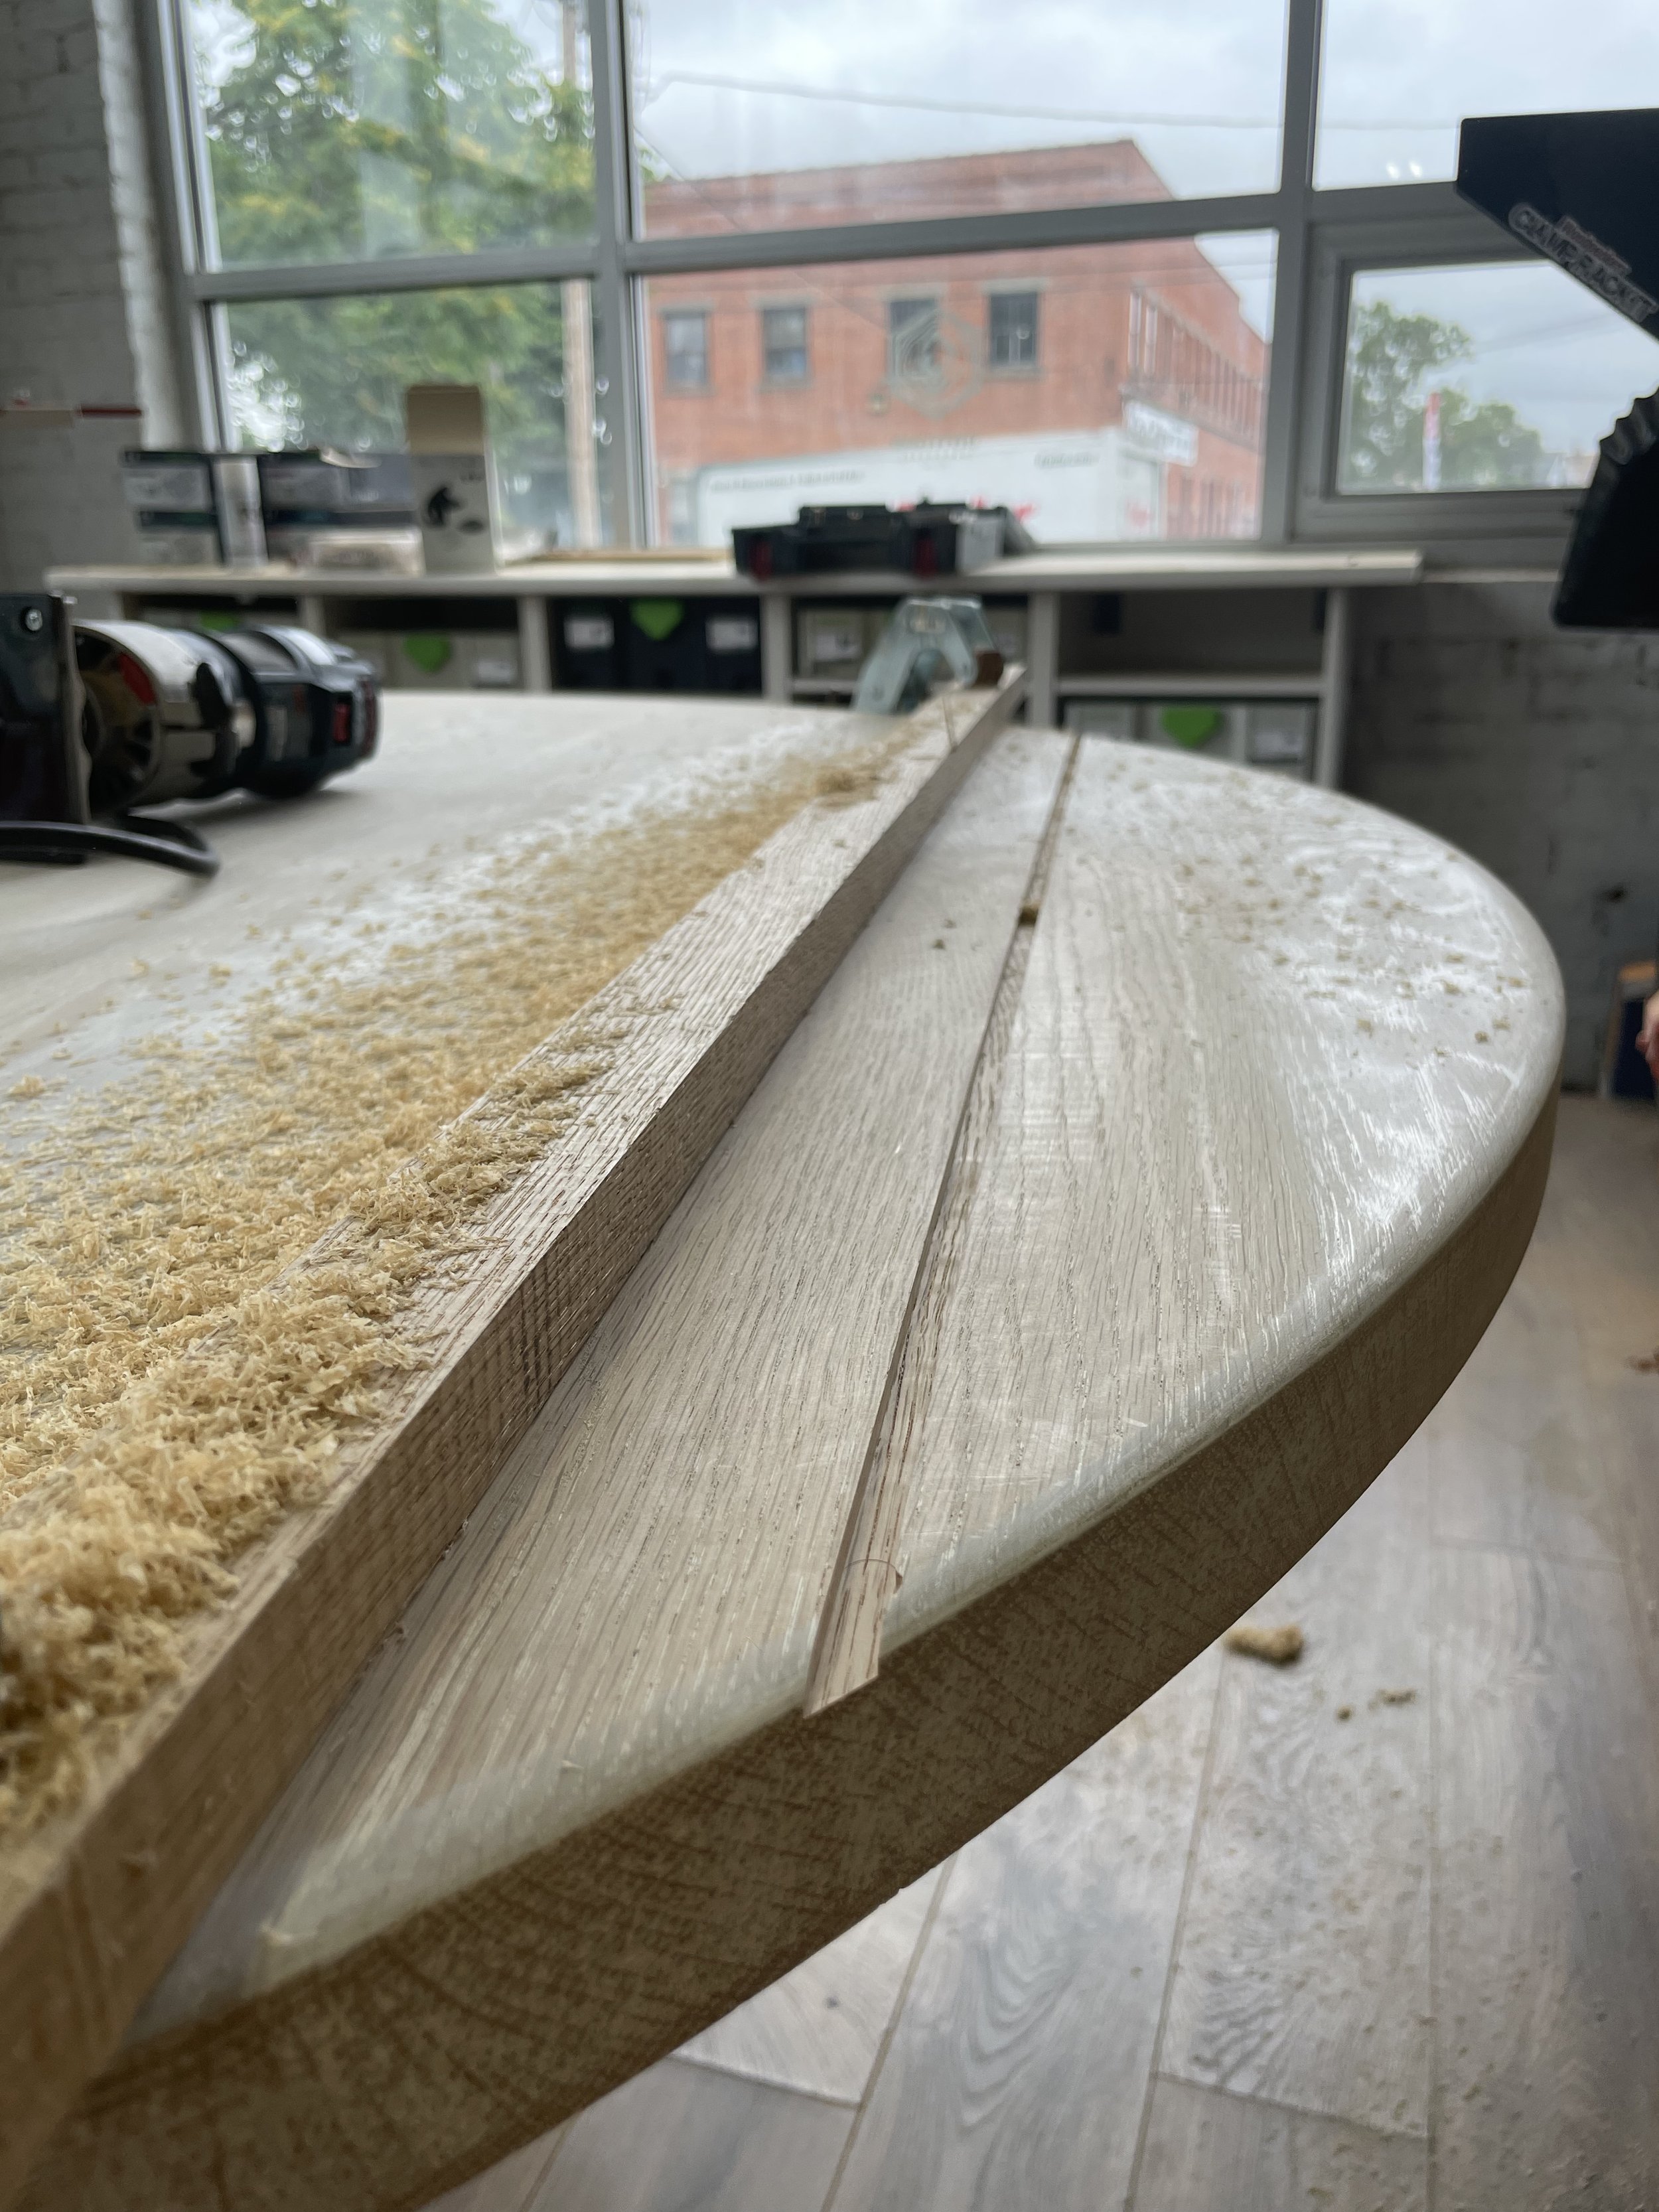
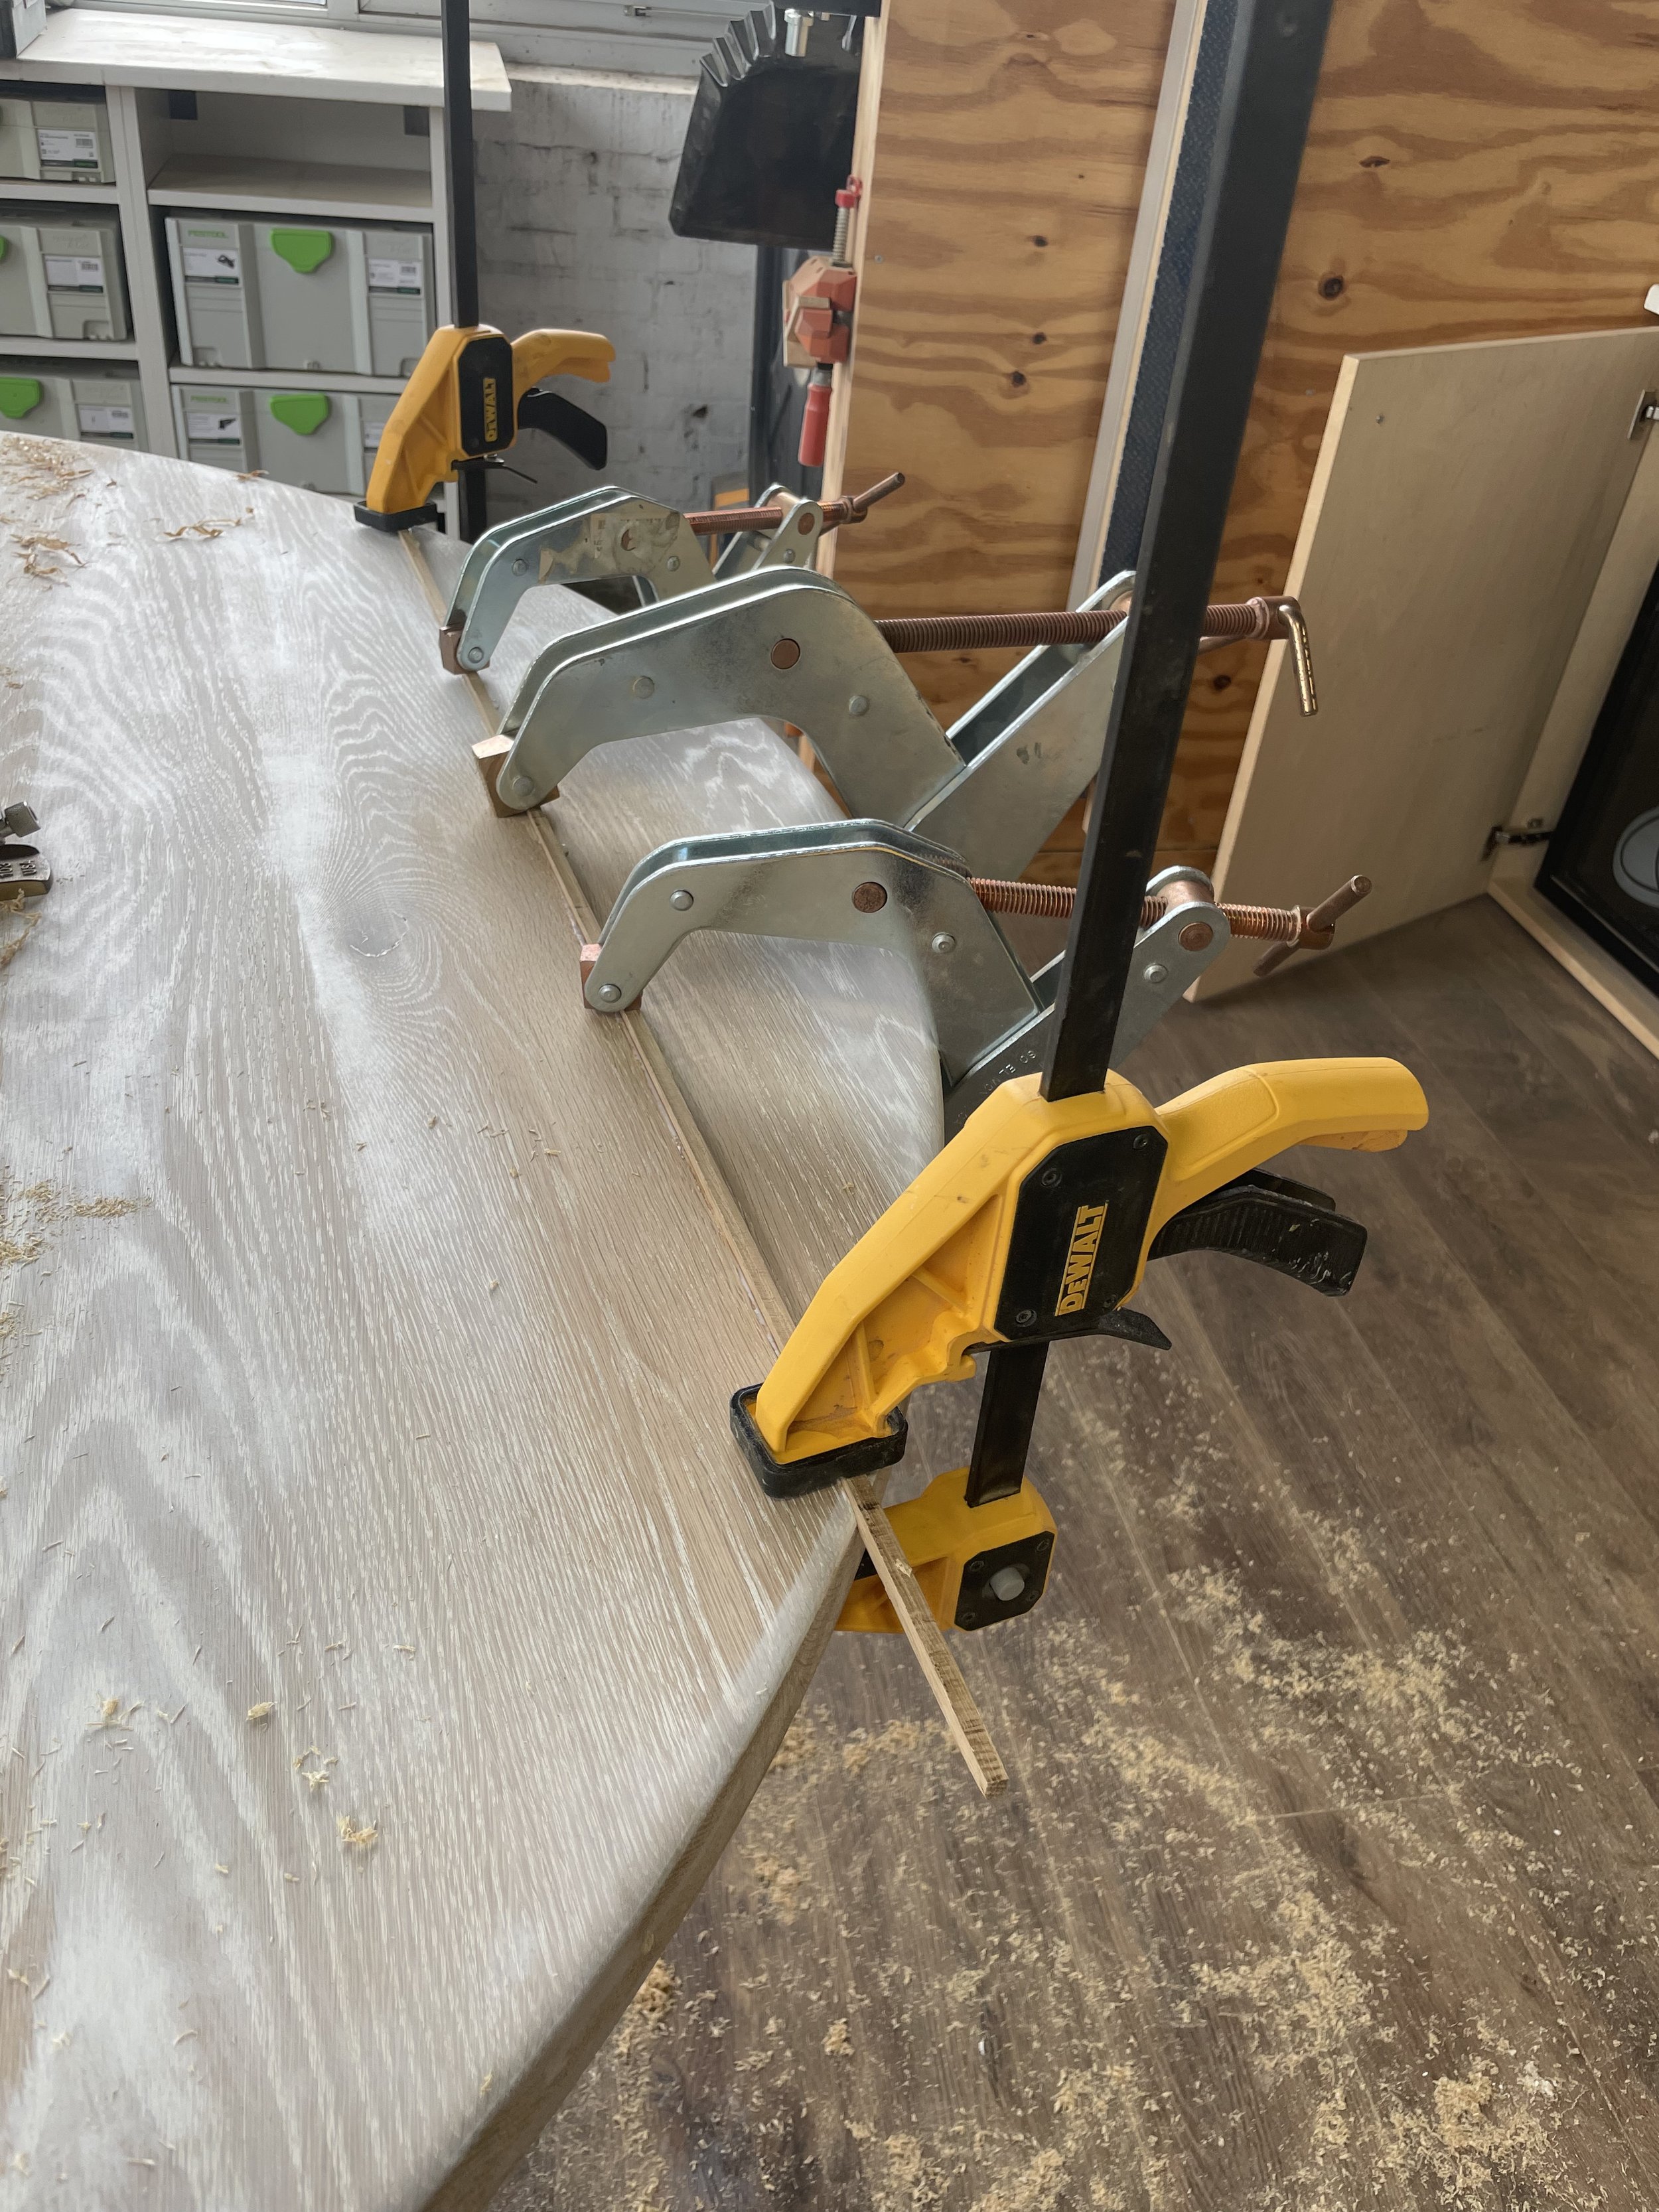
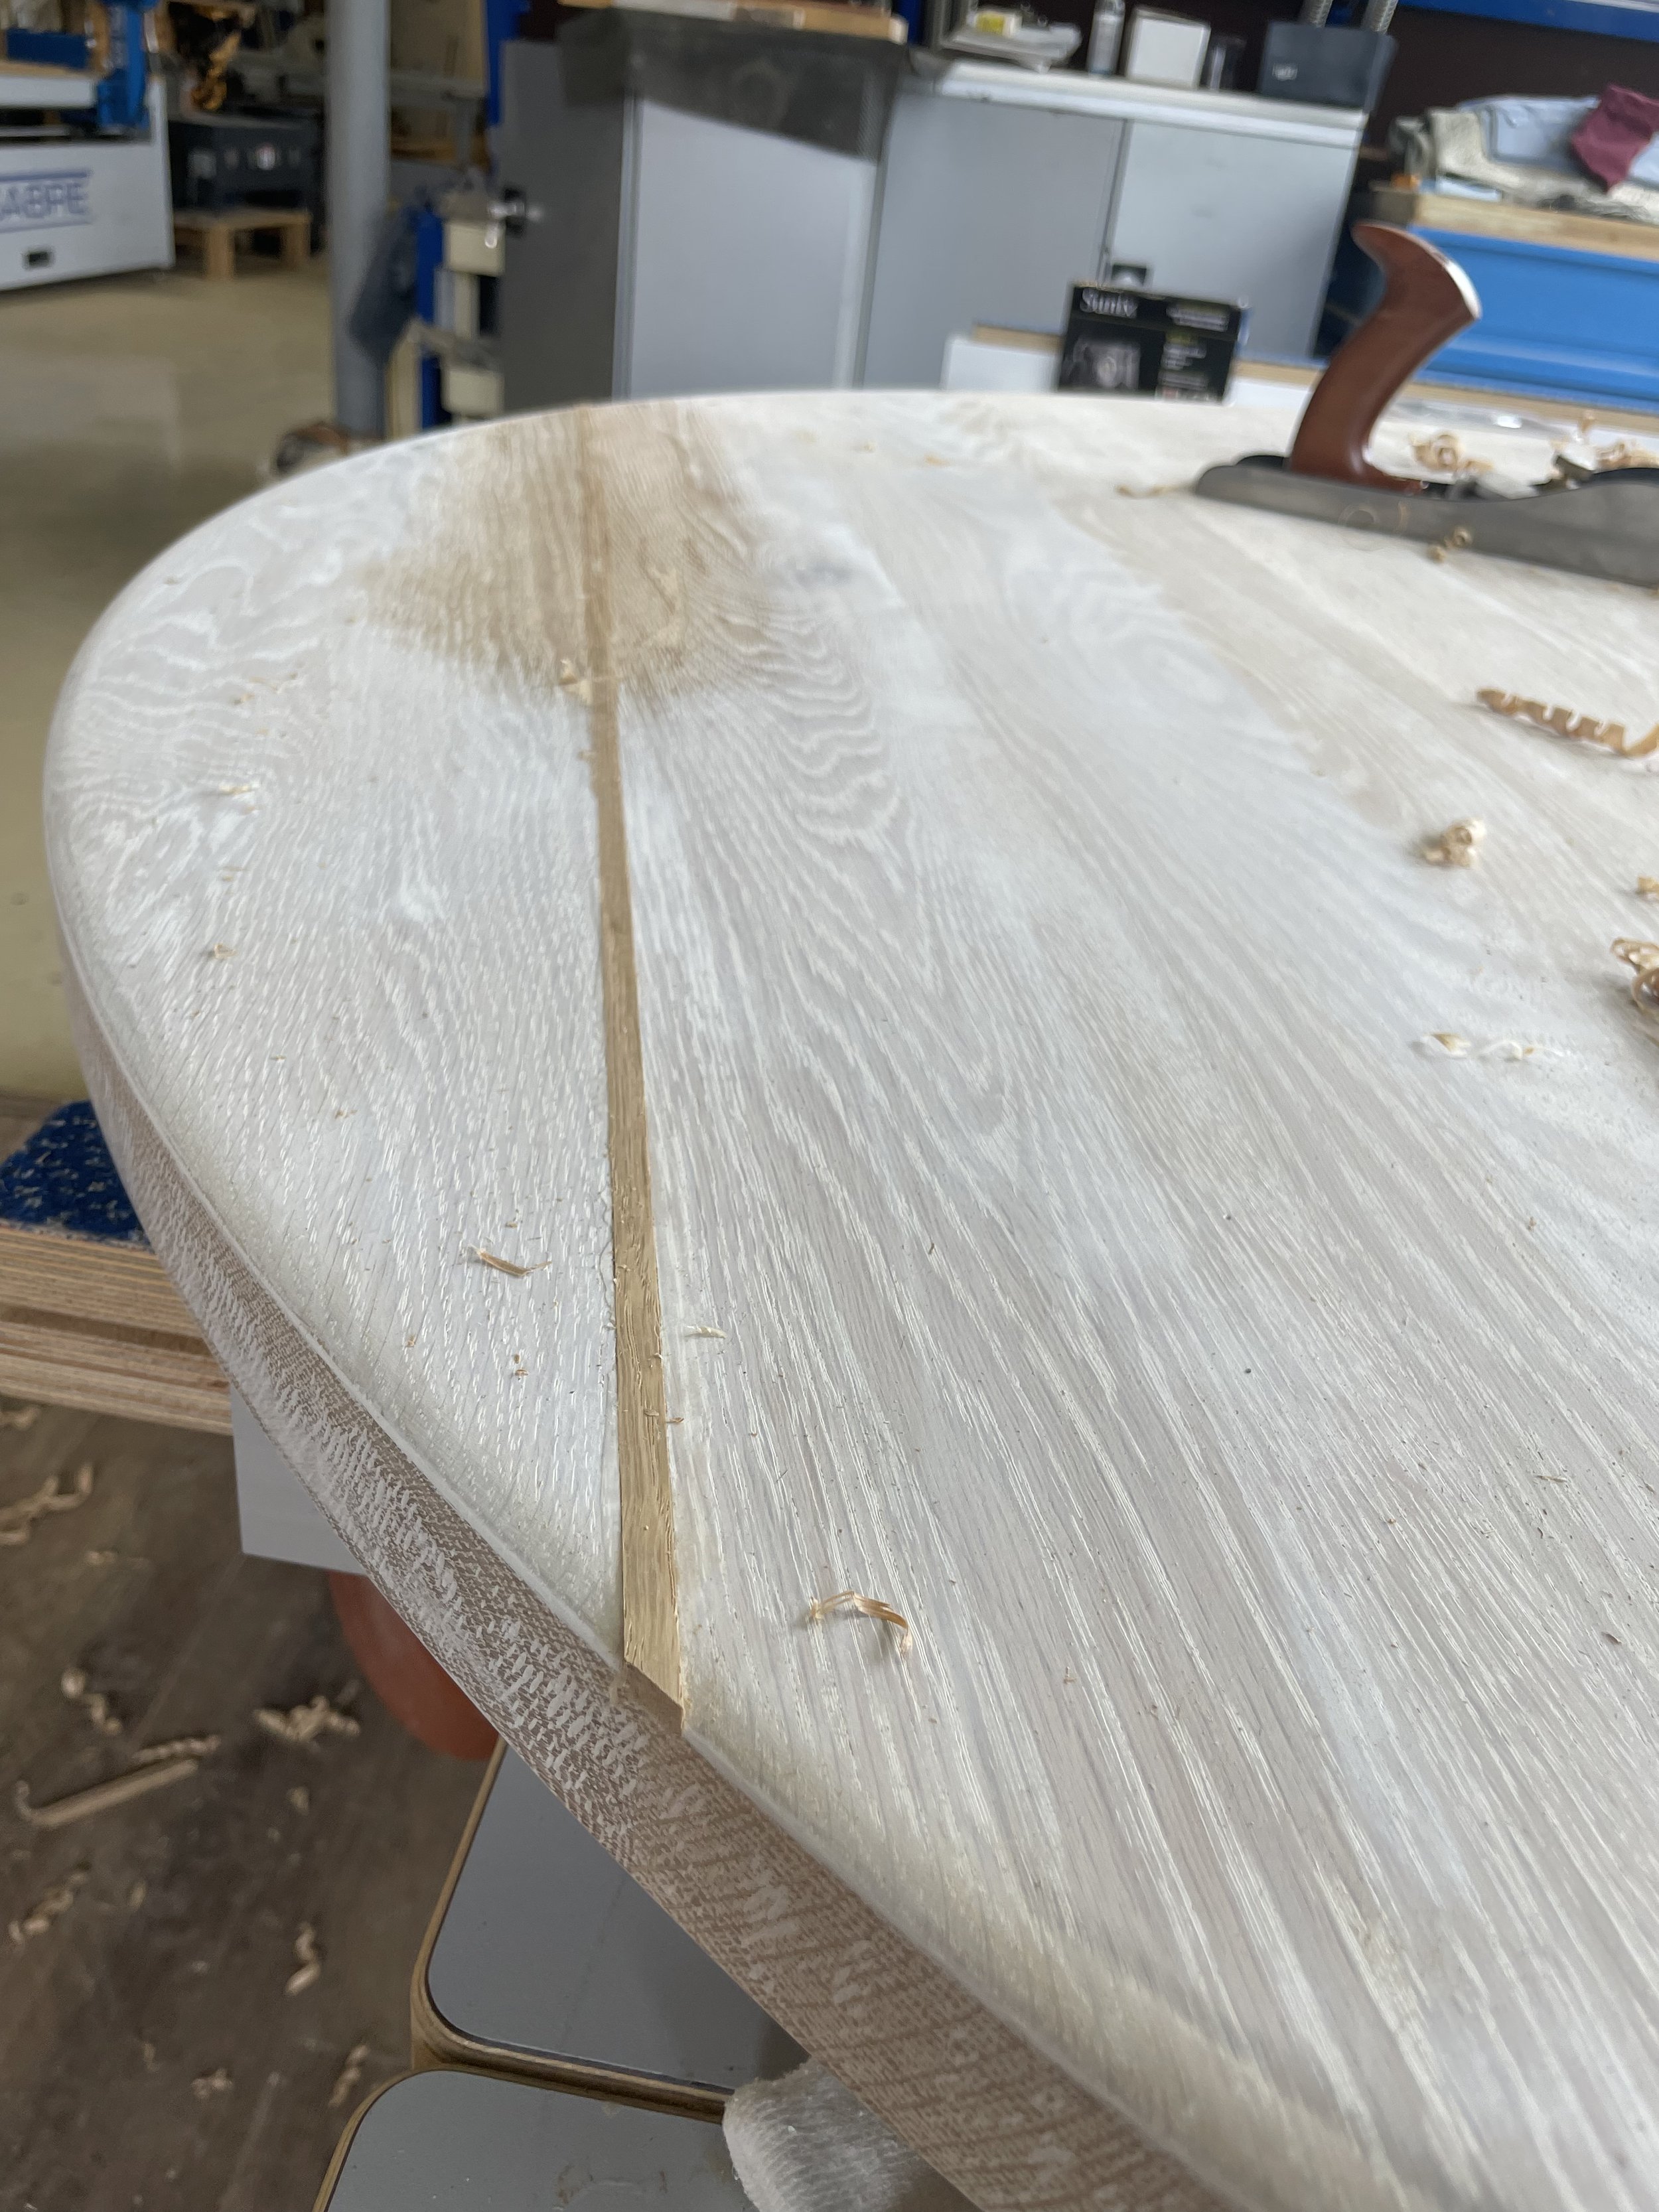
This slide show shows how the tabletop is constructed. The process begins with selecting the planks and orienting them for look and grain direction. I then glue them up in the clamping press. For this table there was a bit of a depression where 2 of the planks met, causing a bit of a dip along the seam. I had attempted to level out the depression with epoxy, but of course the finish would not penetrate the epoxy. The solution was to rout out a channel were the depression was and insert a patch from a cutoff of the same plank. Once it was glued up, sanded and finished, voila, you’d never know it was there. Sometimes you have to come up with creative solutions to solve the puzzles you’re sometimes presented with when working with wood. It can be frustrating at times, but it’s also what makes each project interesting and challenging.

Shopsabre CNC cutting the round oak tabletop
Before I purchased my CNC, my process for cutting a circle this big was to find the center of the “blank”, make a circle-cutting arm that I’d screw into the centerpoint and attach a router to the other end so my cutting bit would reach the exact diameter and then use the router to cut the circle — sort of like the second hand on a clock. With the CNC, I draw the circle at the exact dimensions I want on the computer and output the tool paths to the machine. As you can see here, it cuts the perfect circle at the desired diameter in less than a couple of minutes. Dead accurate and a real time saver.
See the Mackenzie table here