When it comes to kitchen remodeling or home renovations, choosing the right cabinets is a critical decision. Cabinets play a vital role in functionality, aesthetics, and overall satisfaction with your space. Two popular options available in the market are mass-produced cabinets and custom-made cabinets. Both options have their unique advantages and drawbacks. In this article, we will explore the pros and cons of mass-produced cabinets versus custom-made cabinets to help you make an informed decision.
Mass-Produced Cabinets:
Mass-produced cabinets are pre-manufactured and readily available in various styles, sizes, and finishes. Here are some of the pros and cons associated with this type of cabinetry:
Pros:
Cost-effective: Mass-produced cabinets are generally more affordable compared to custom-made cabinets. The economies of scale achieved through mass production allow manufacturers to offer competitive pricing.
Quick availability: As these cabinets are pre-made and readily available, you can enjoy a faster turnaround time. This is particularly beneficial if you have time constraints or want to complete your renovation project promptly.
Wide variety of styles: Mass-produced cabinets come in a wide range of styles, finishes, and sizes. This vast selection makes it easier to find a design that suits your taste and complements your existing kitchen decor.
Cons:
Limited customization: One of the significant drawbacks of mass-produced cabinets is the limited scope for customization. You may have to compromise on specific design elements or features to fit within the standardized options available.
Lower quality materials: To keep costs down, mass-produced cabinets often use lower quality materials compared to custom-made cabinets. This may impact the durability and lifespan of the cabinets.
Lack of uniqueness: Since these cabinets are widely available, there is a higher chance that your kitchen will resemble many others. If you desire a distinct and personalized look, mass-produced cabinets may not be the ideal choice.
Custom-Made Cabinets:
Custom-made cabinets are built to order, tailored to your specific requirements. Let's explore the pros and cons of opting for custom-made cabinetry:
Pros:
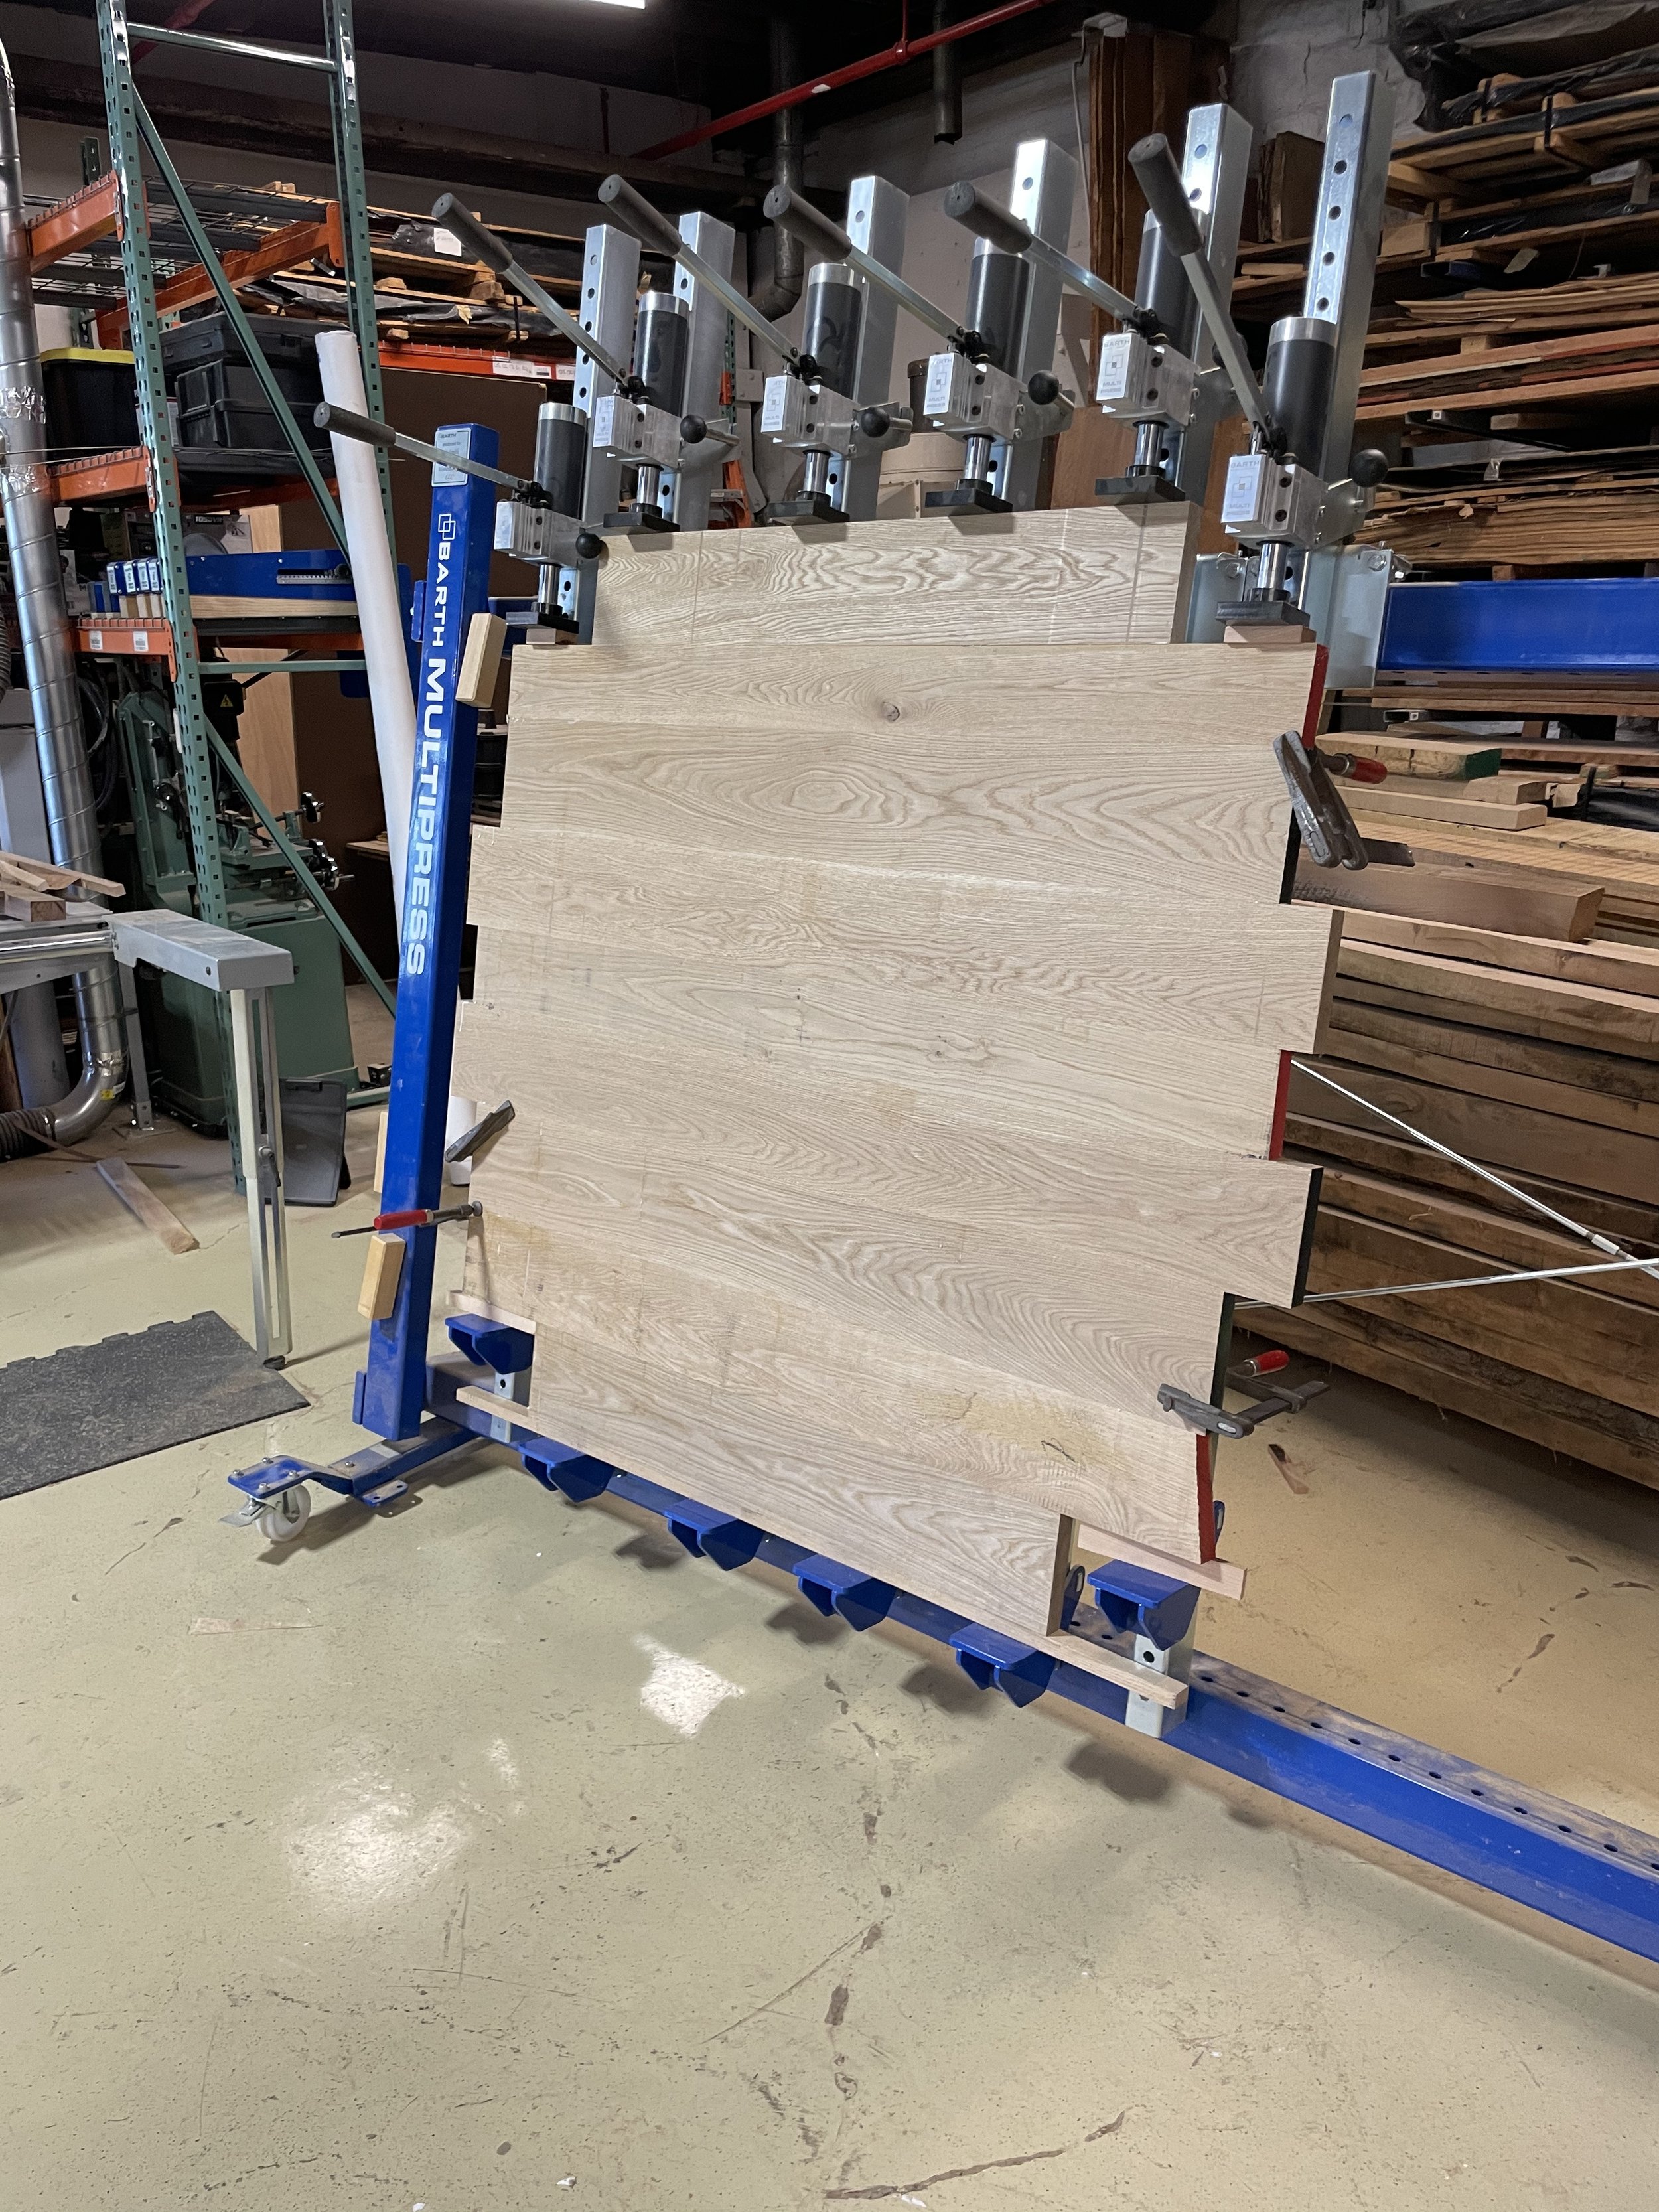
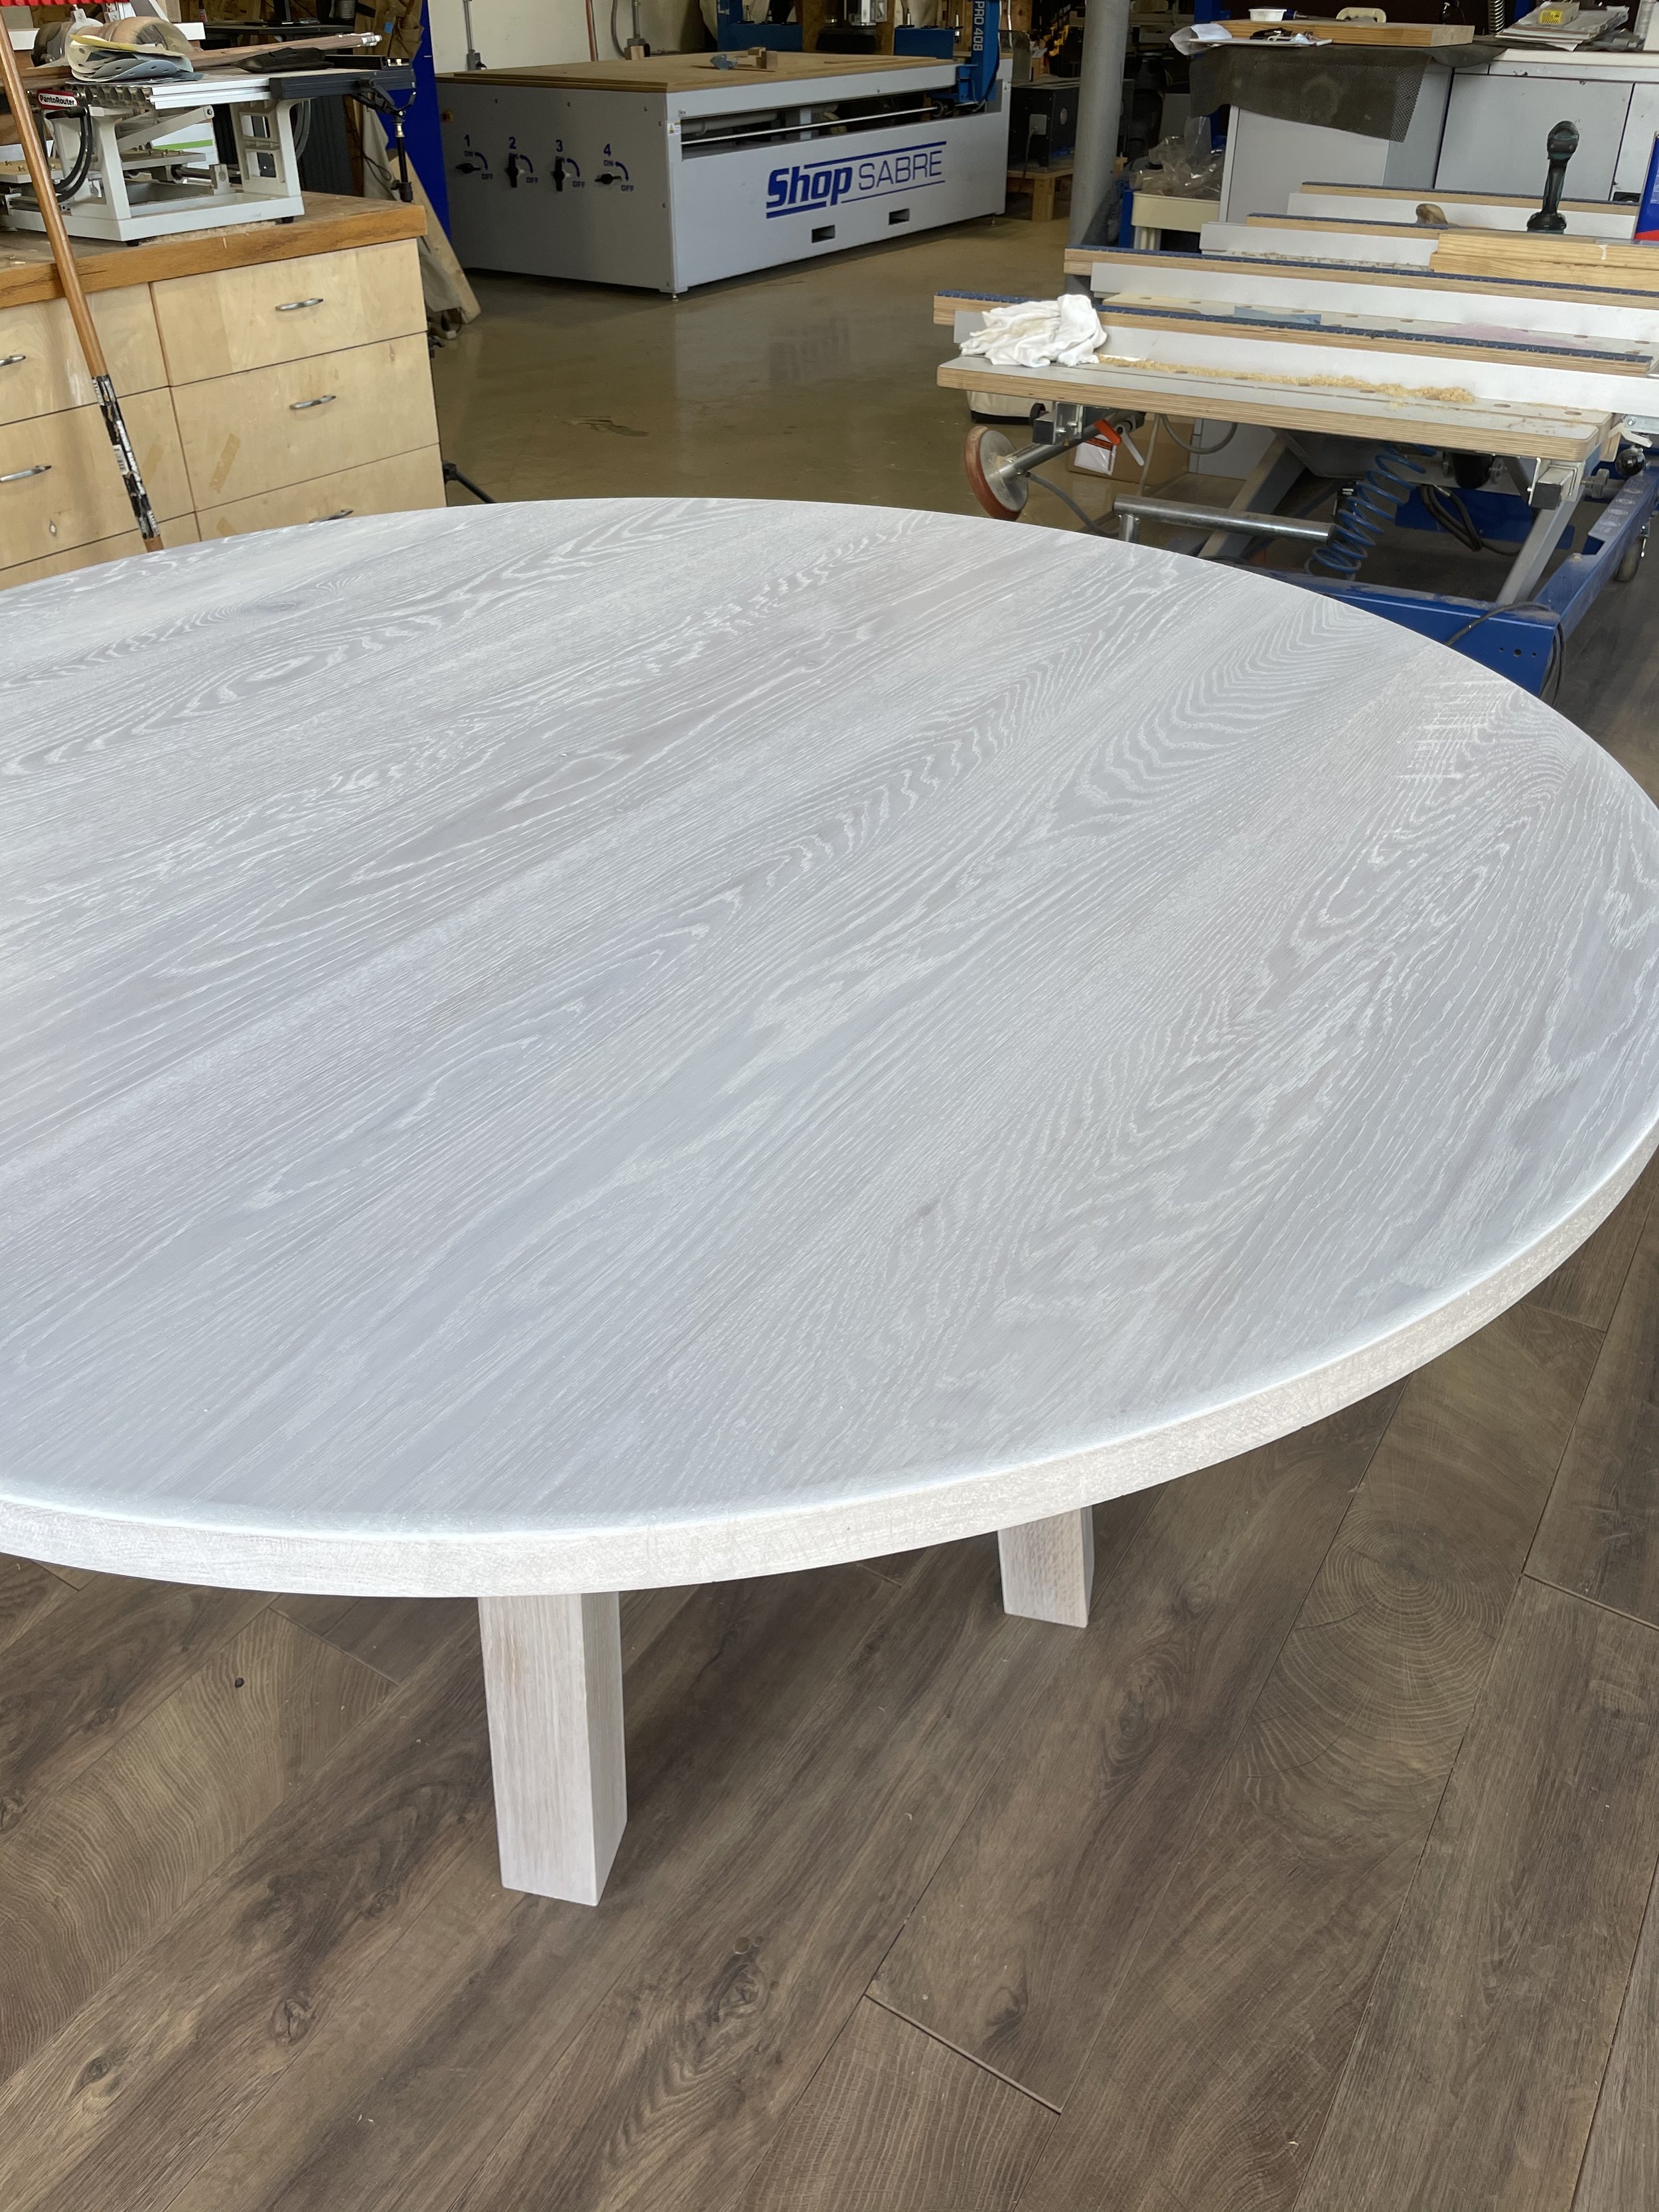
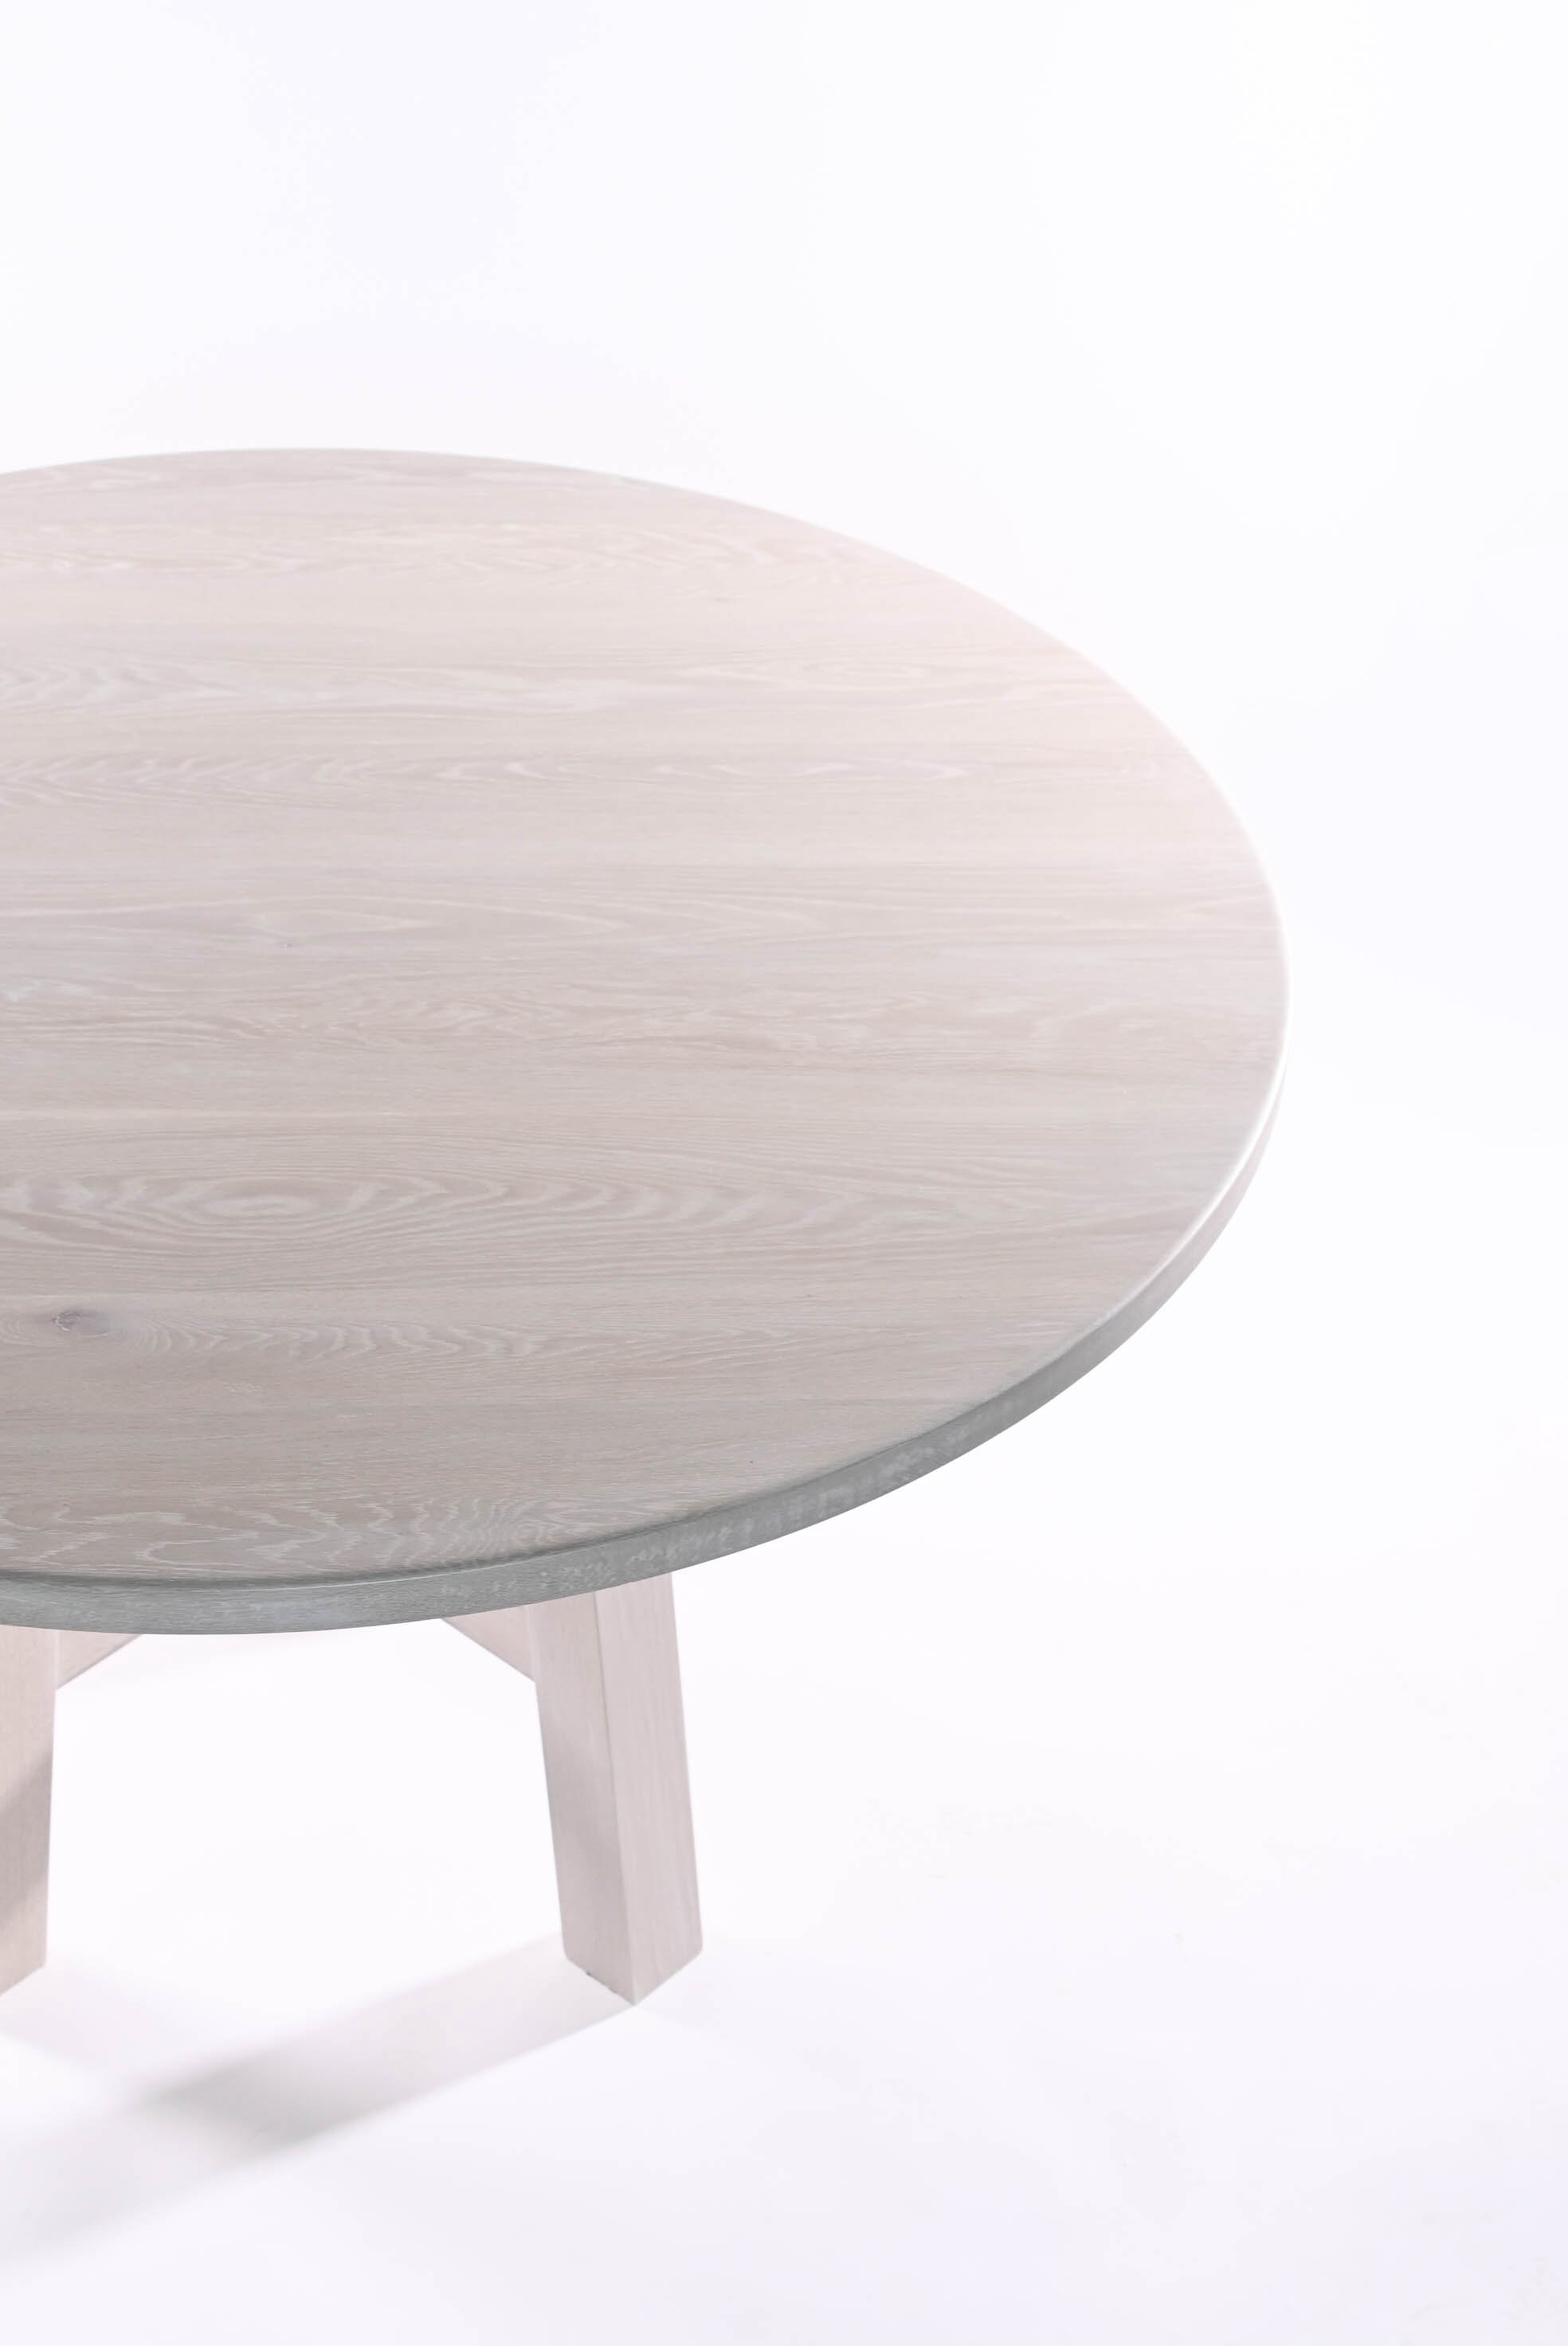
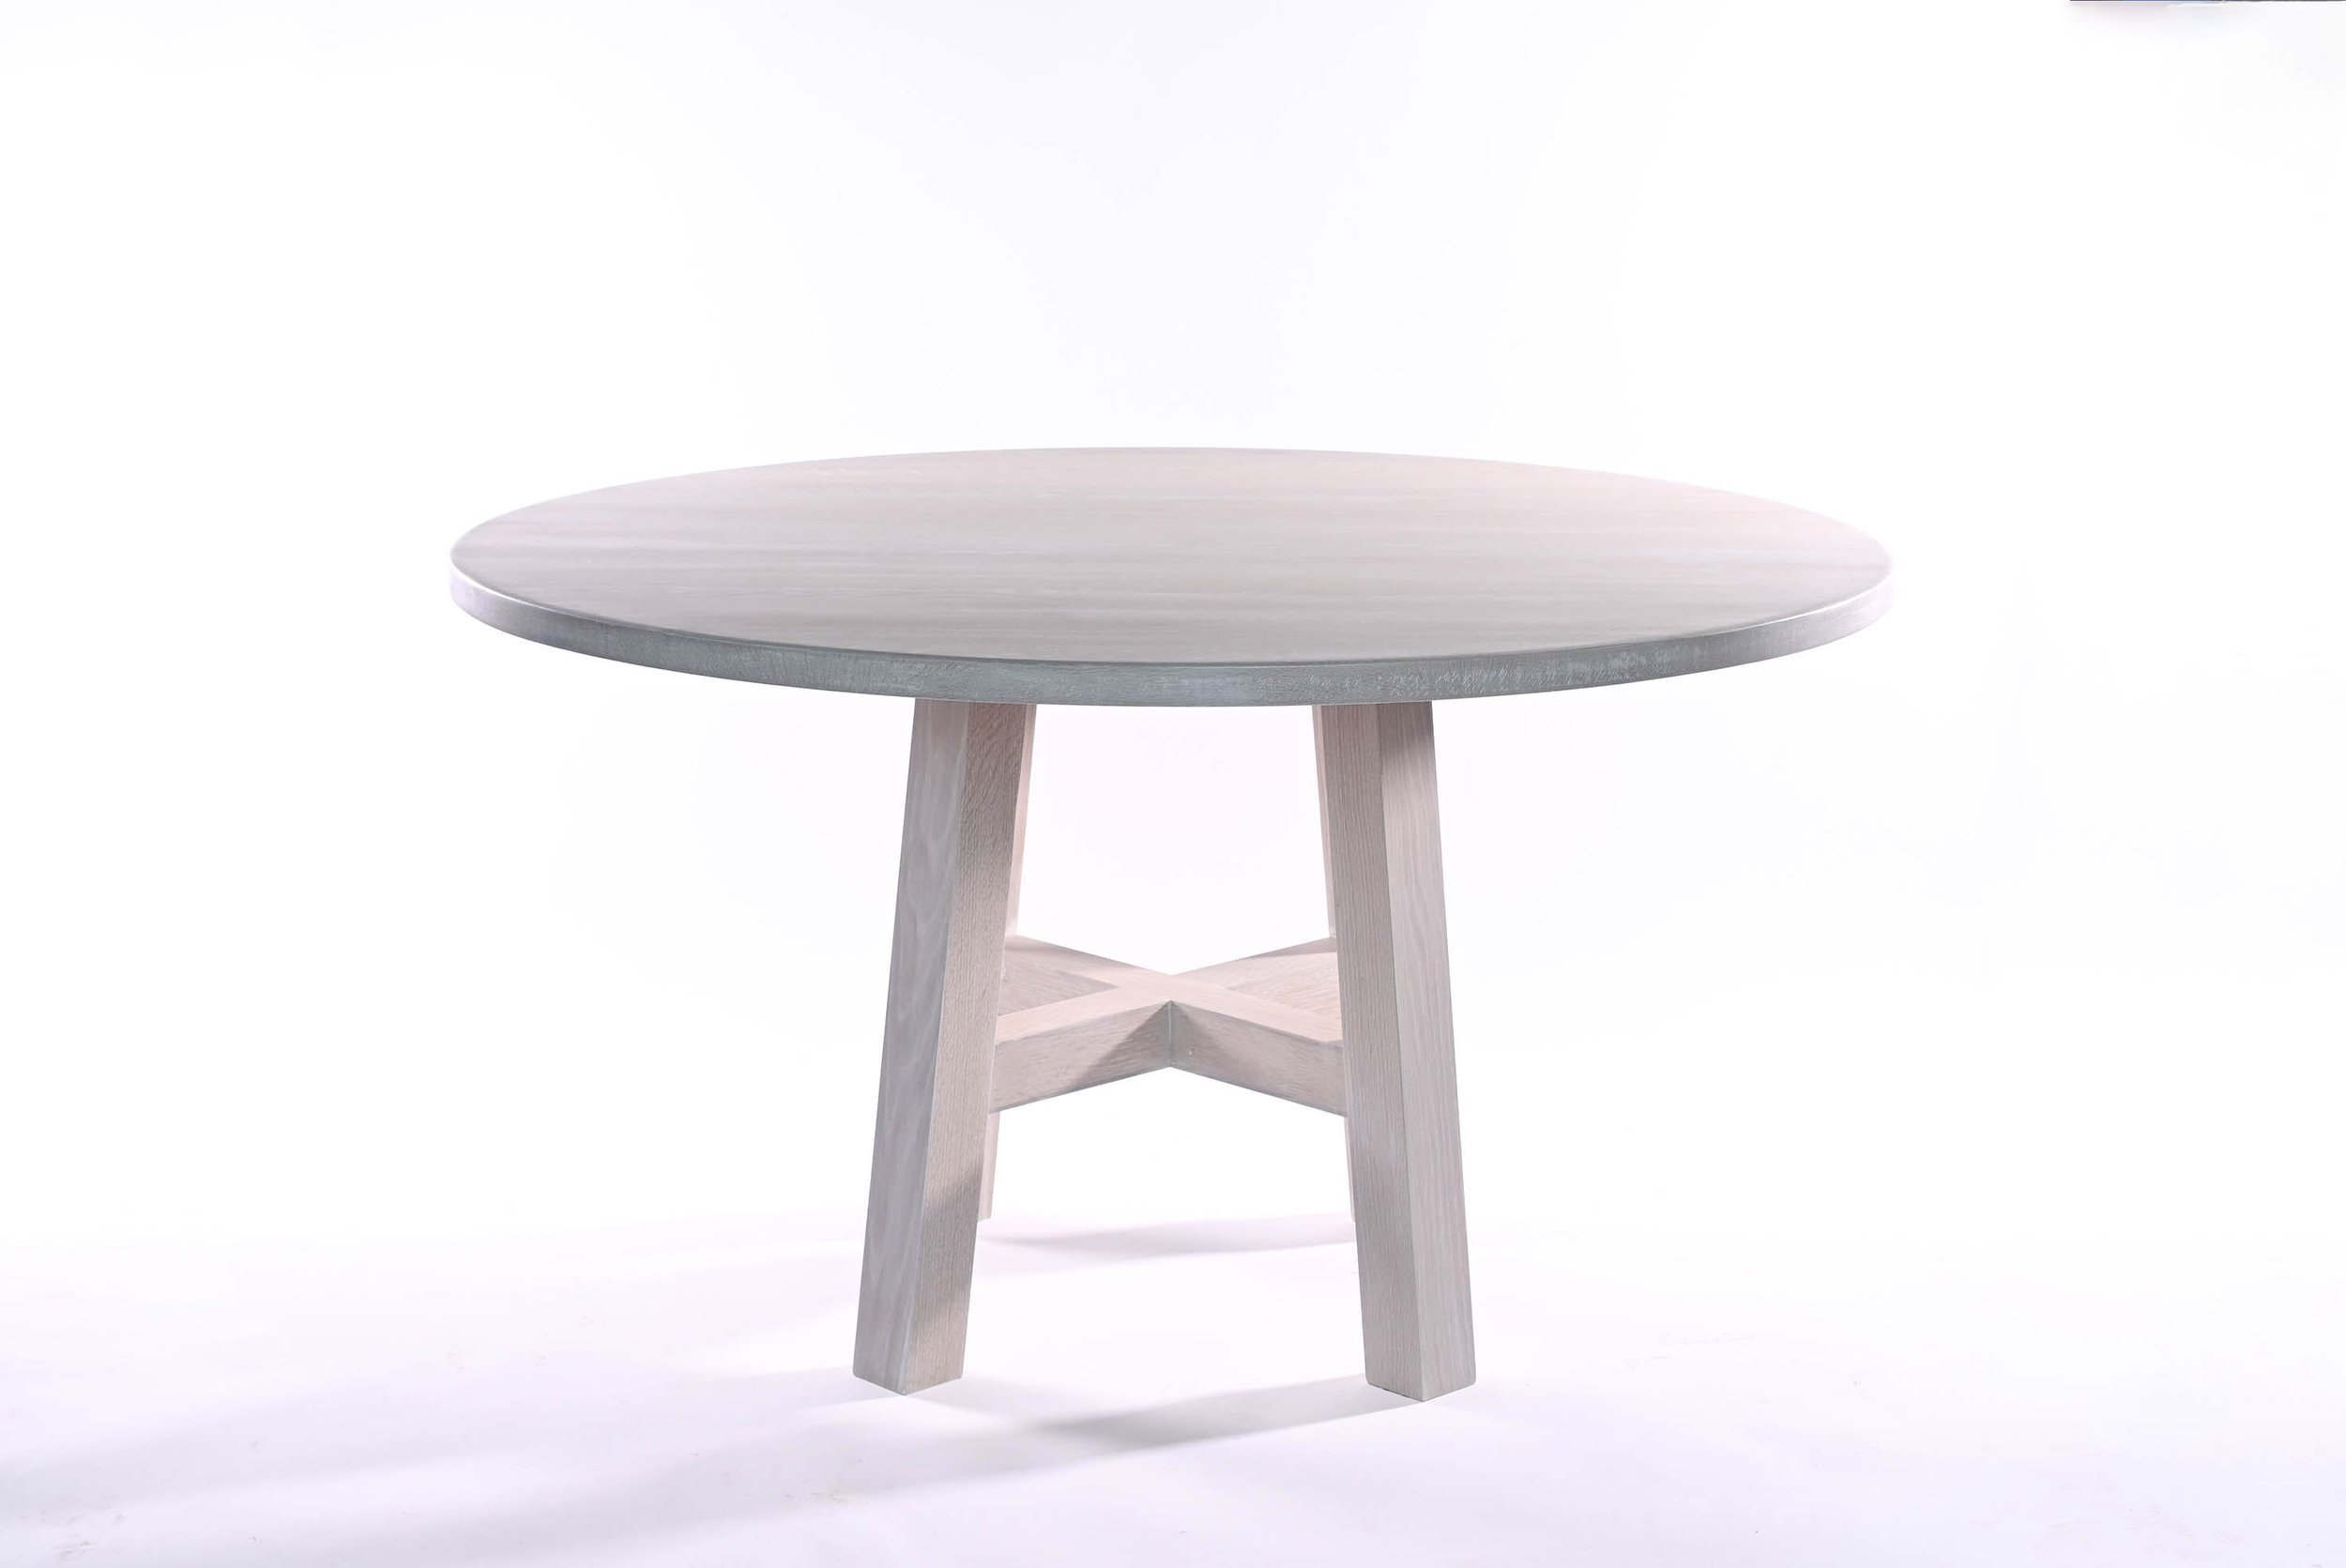
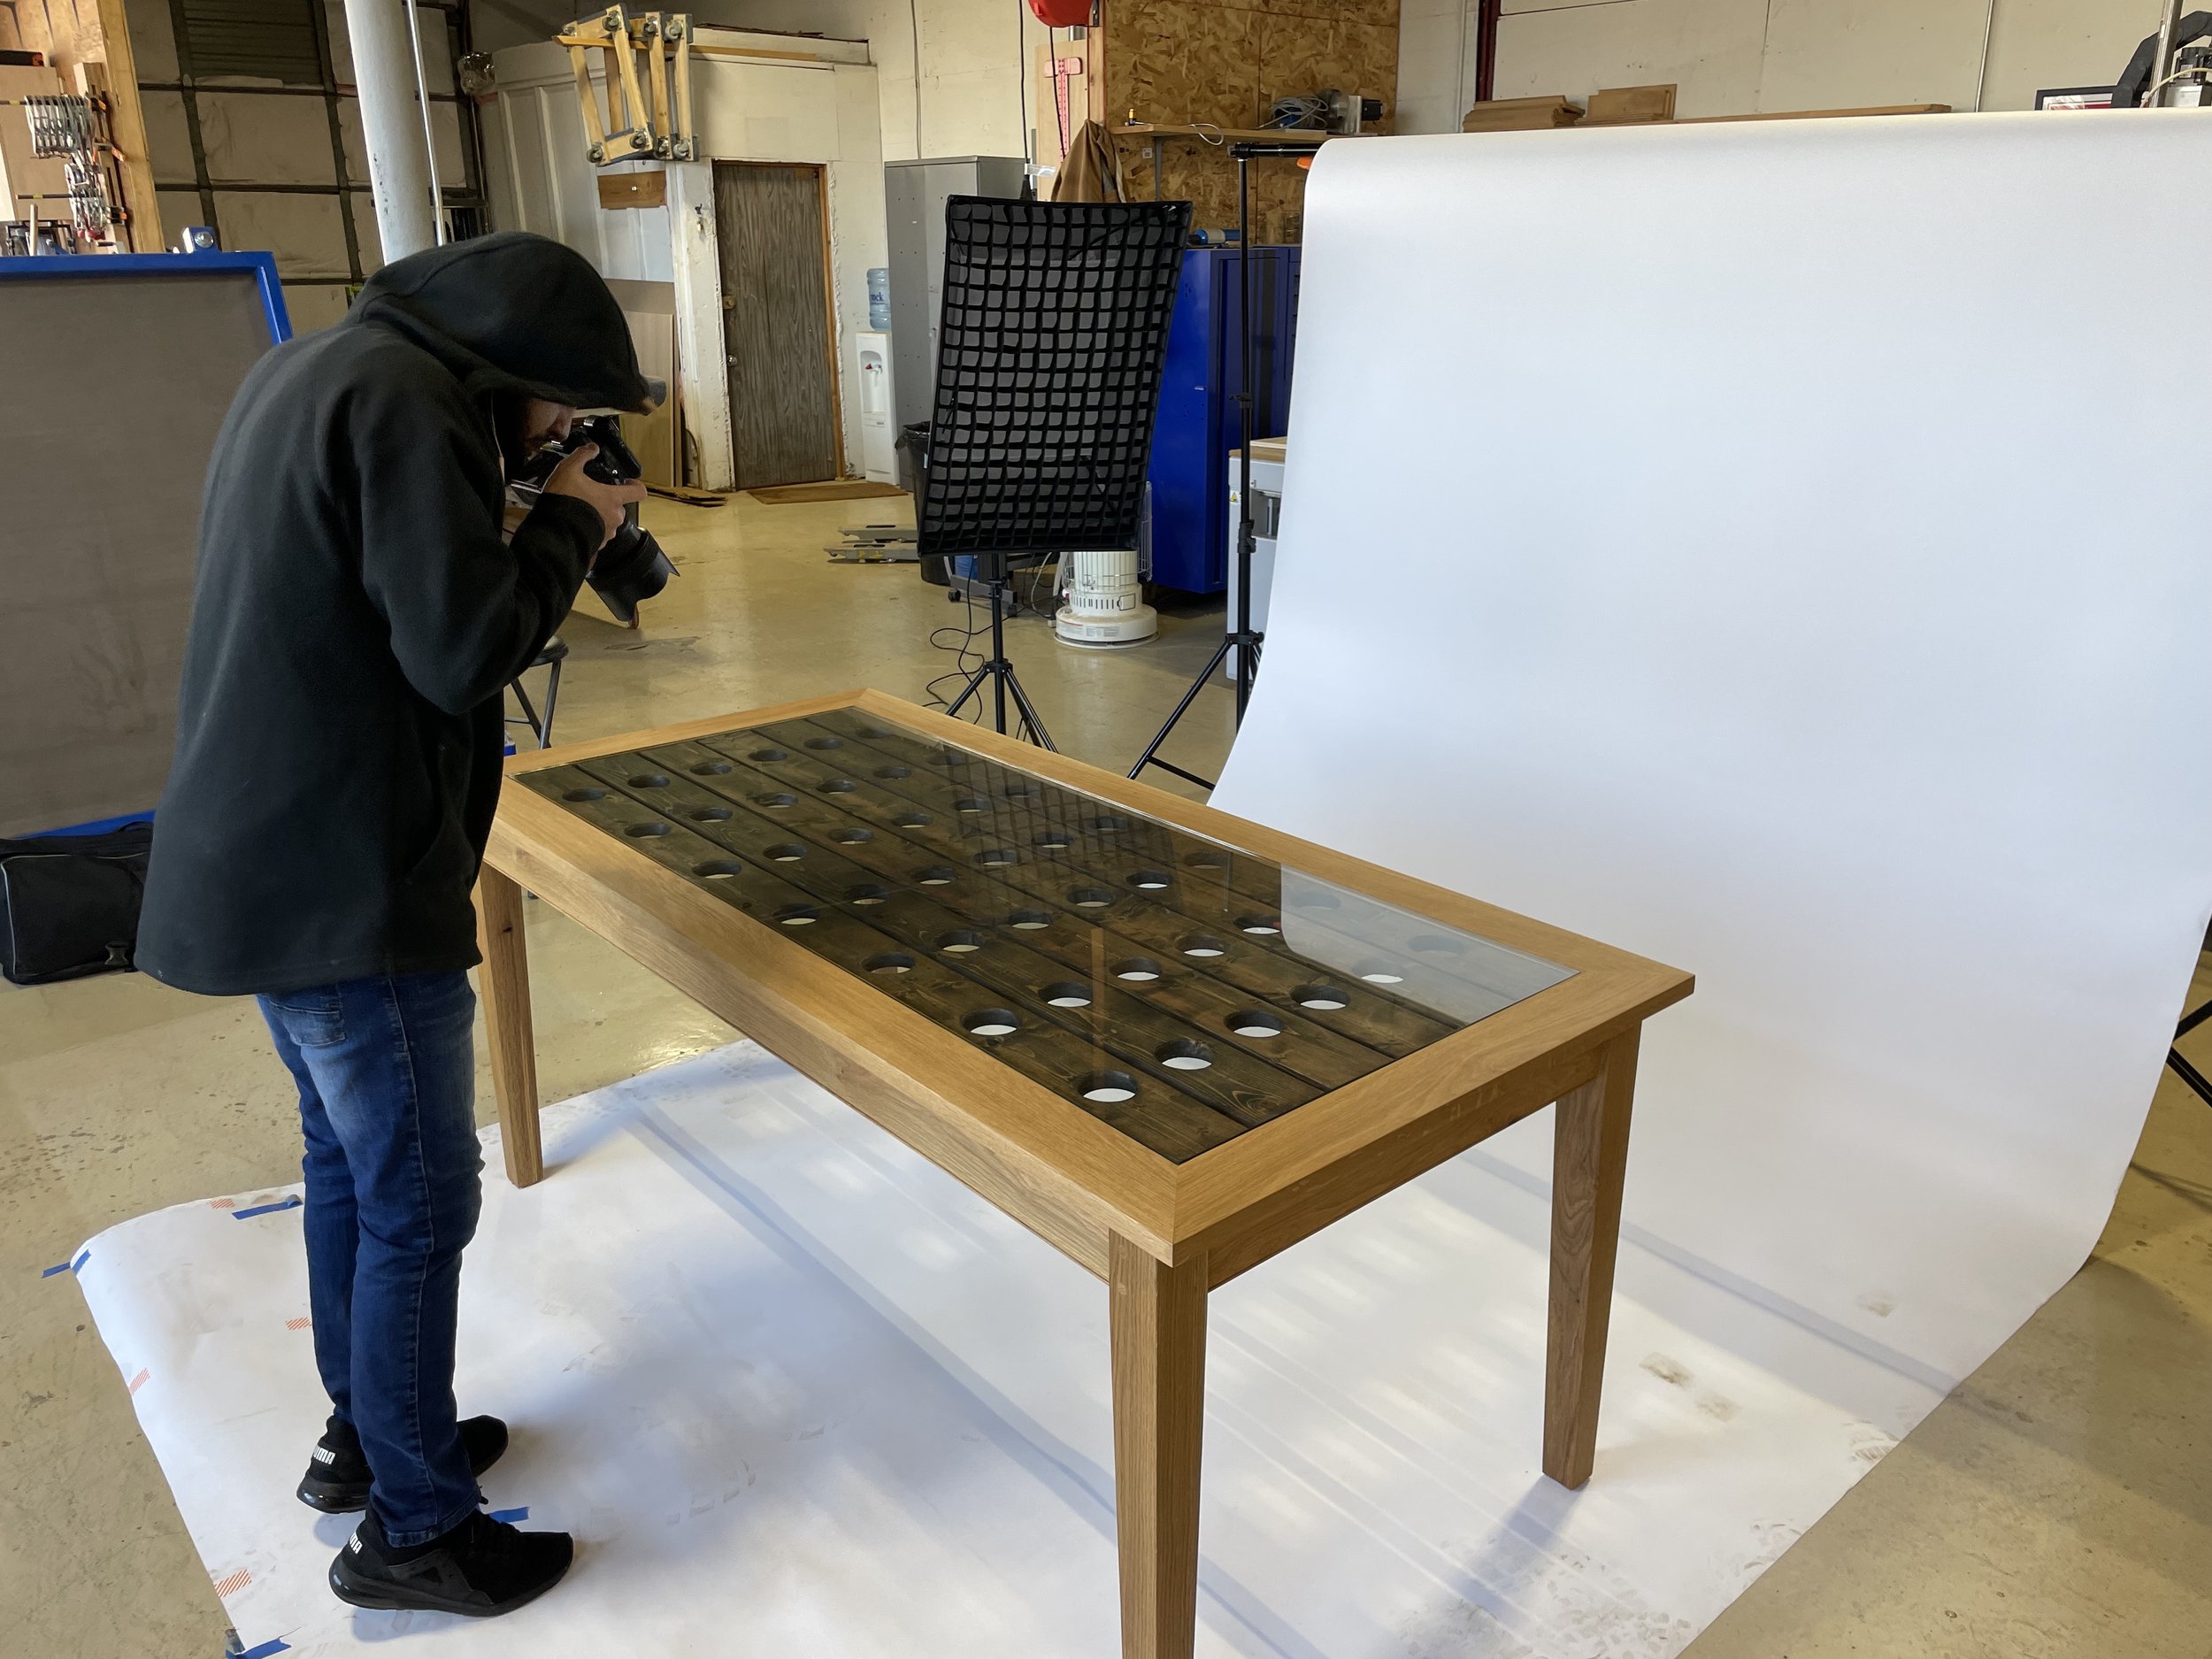
Tailored to your needs: The most significant advantage of custom-made cabinets is their ability to be tailored to your unique needs. You have control over the design, dimensions, materials, and finishes, allowing you to create a truly personalized kitchen space.
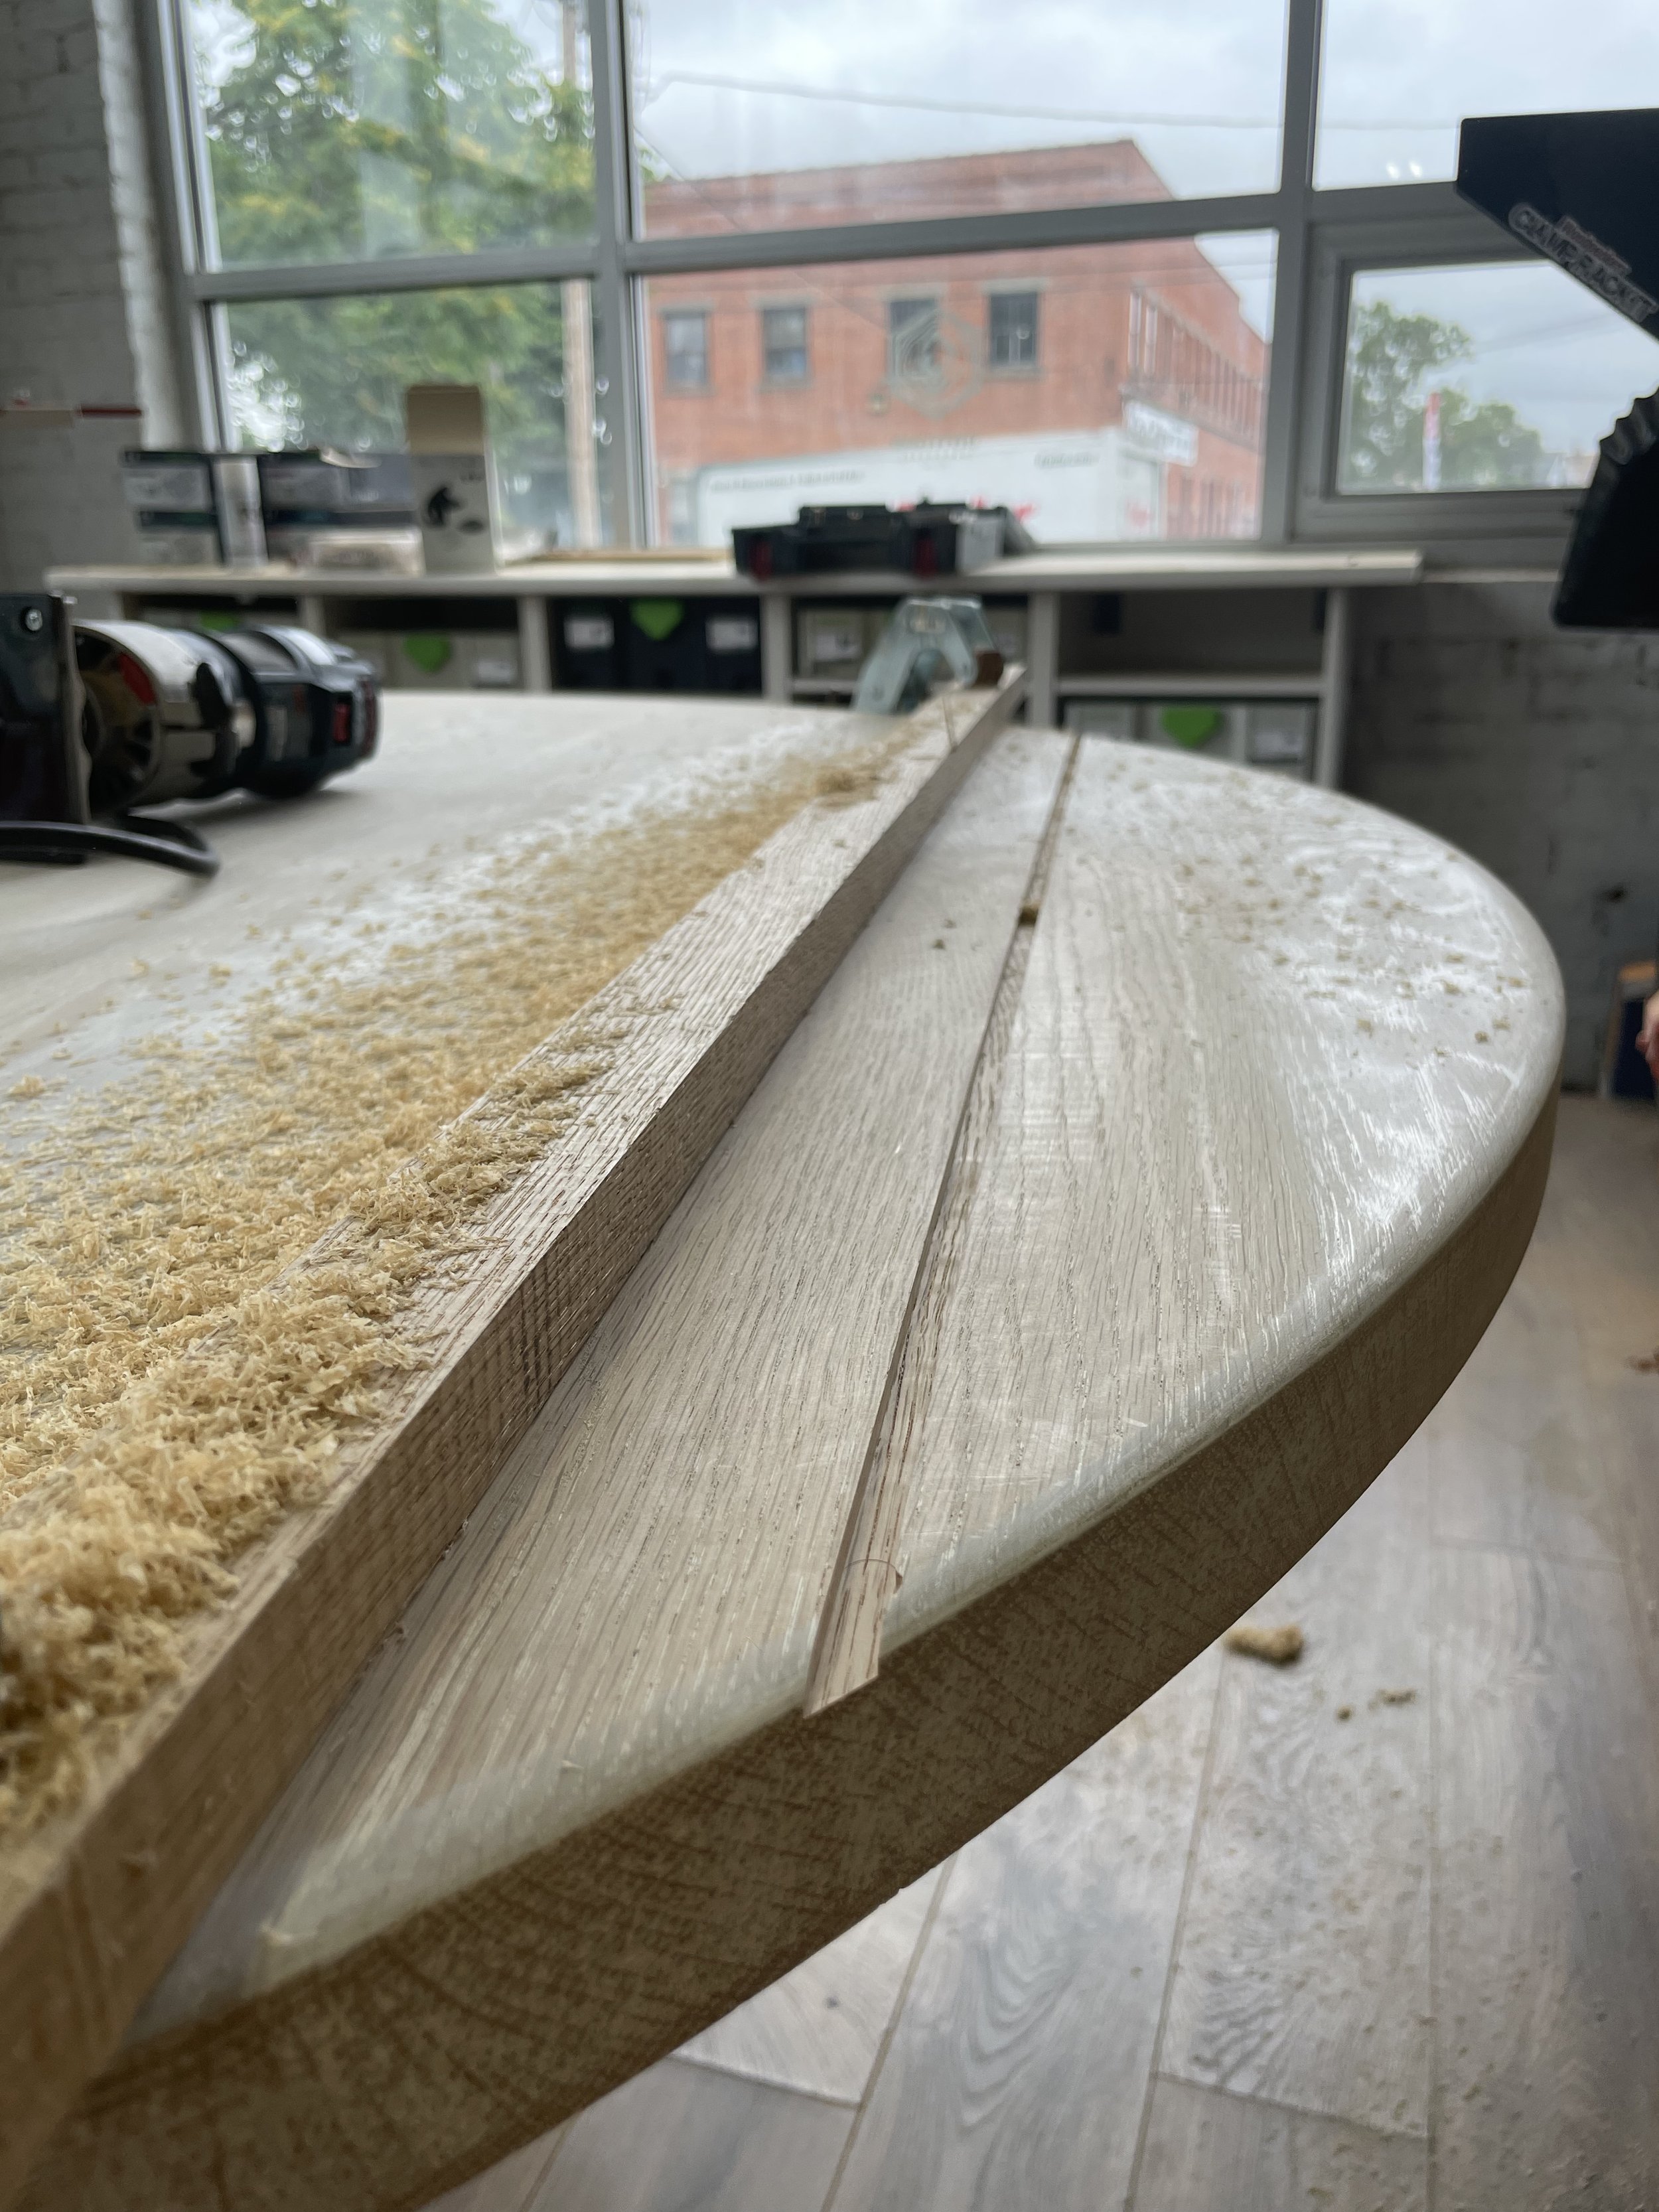
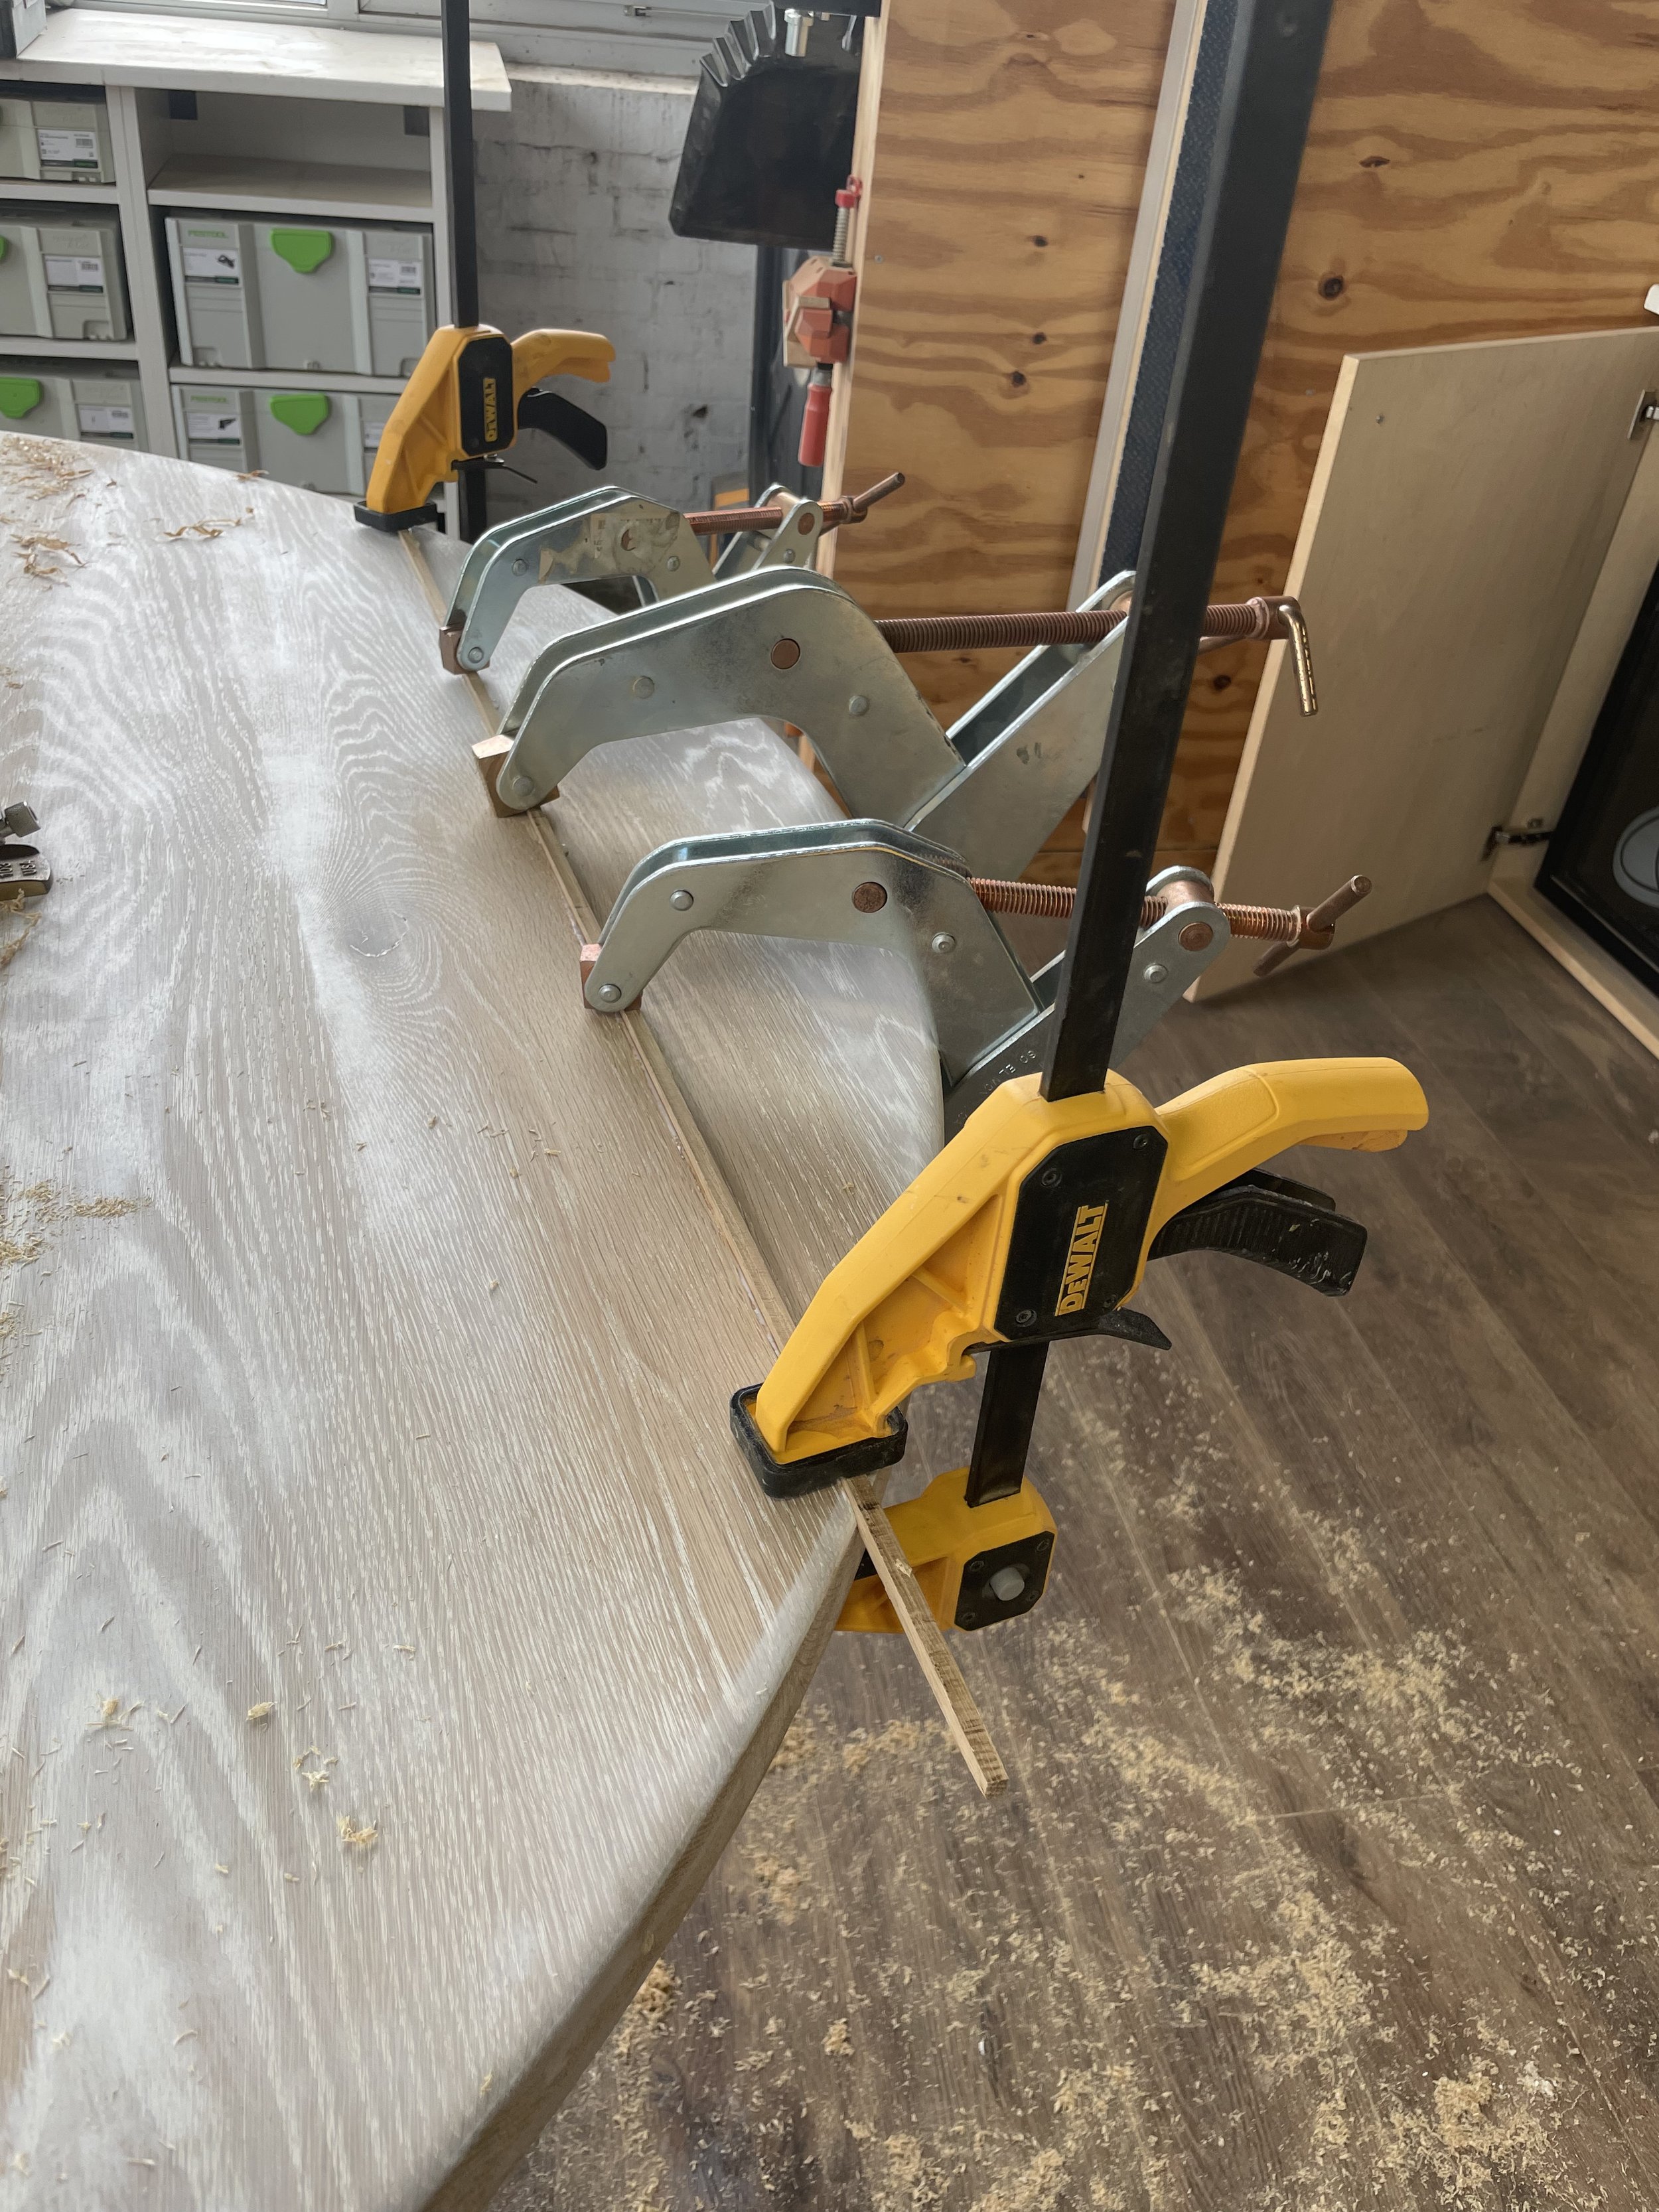
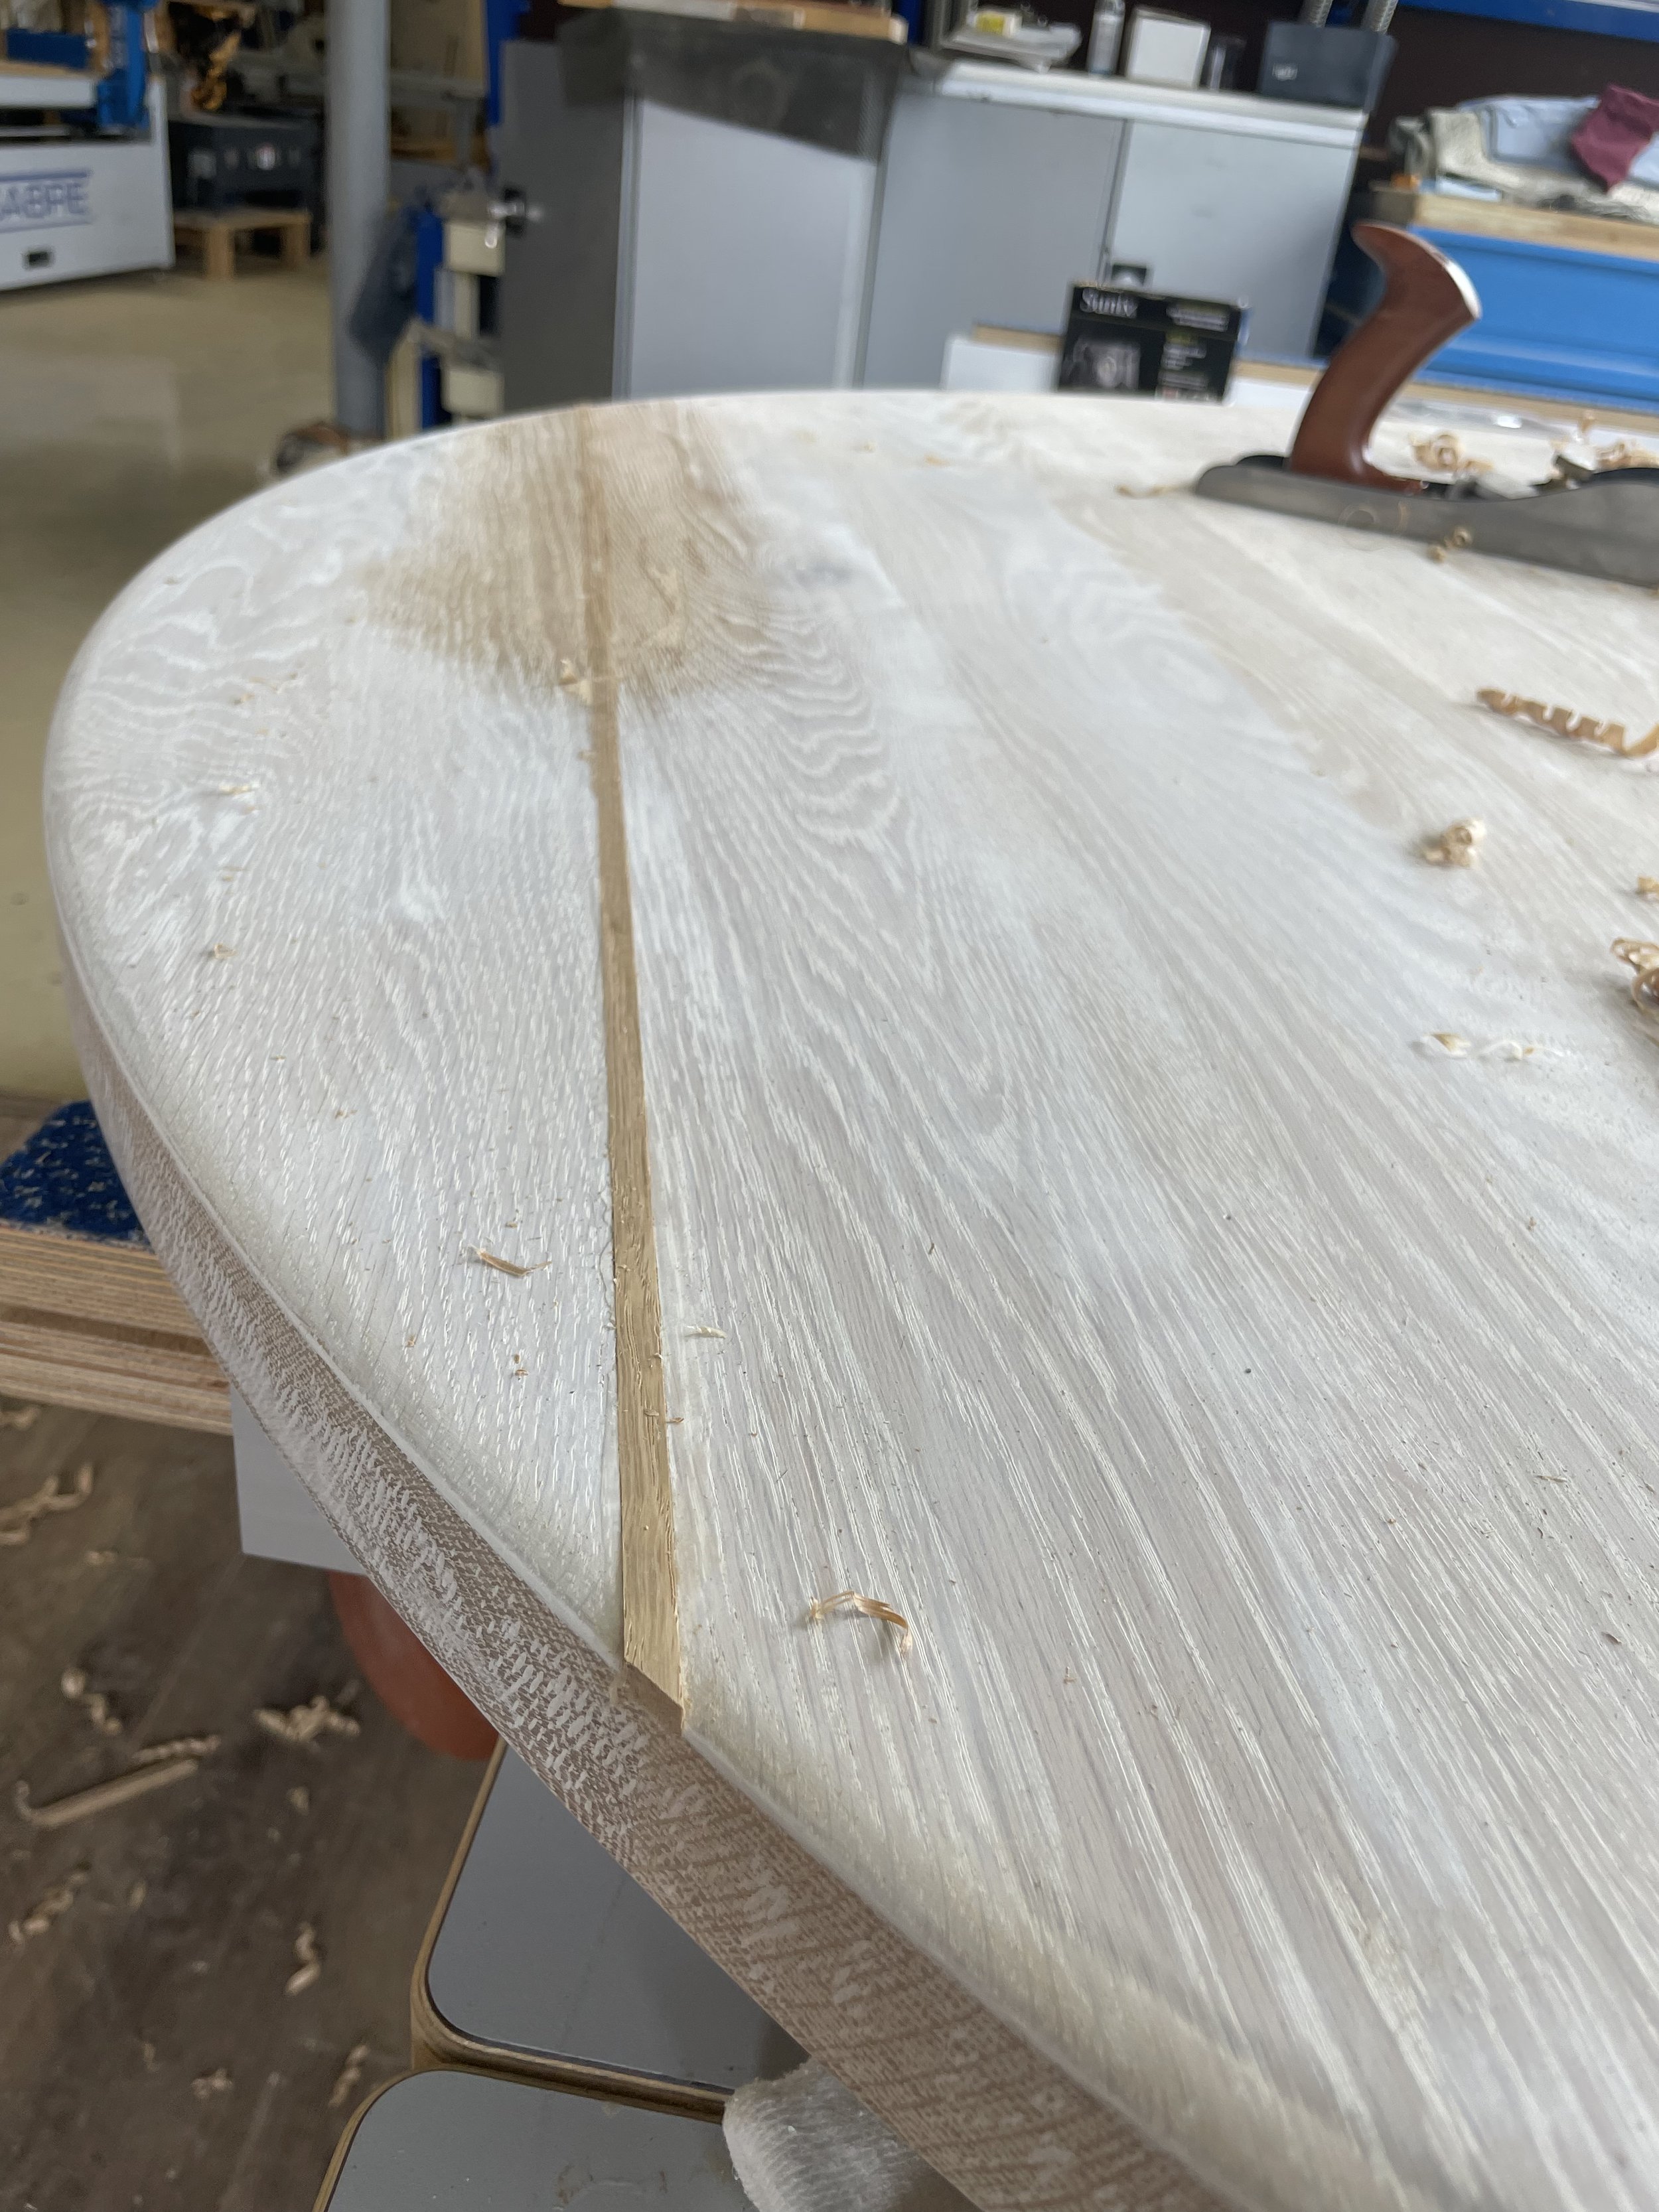
Superior craftsmanship and quality: Custom-made cabinets are typically constructed by skilled craftsmen using high-quality materials. The attention to detail and precise craftsmanship results in a superior product that is built to last.
Unparalleled aesthetics: With custom-made cabinets, you have the freedom to express your style and create a one-of-a-kind look. These cabinets can be designed to match your kitchen's architecture, ensuring a seamless integration into the overall design scheme.
Cons:
Higher cost: Custom-made cabinets tend to come with a higher price tag compared to mass-produced cabinets. The labor-intensive process and the use of premium materials contribute to the increased cost.
Longer lead time: Since custom-made cabinets are built from scratch, they require more time for design, production, and installation. If you're on a tight schedule, this may not be the most suitable option.
Dependence on the manufacturer: The quality of your custom-made cabinets heavily relies on the skill and expertise of the manufacturer you choose. It's essential to do thorough research and select a reputable and experienced cabinet maker.
Deciding between mass-produced cabinets and custom-made cabinets ultimately depends on your priorities, budget, and project timeline. Mass-produced cabinets offer affordability, quick availability, and a wide range of styles, but come with limited customization options. On the other hand, custom-made cabinets provide personalized designs, superior craftsmanship, and unparalleled aesthetics, but at a higher cost and longer lead time. Consider your specific needs and preferences to make an informed choice that will result in a kitchen you love for years to come.
